

Woodworking is an art that requires precision, skill, and the right tools. Among the many tools found in a woodworker’s arsenal, the planer stands out as an essential and versatile tool. Whether you’re a professional woodworker or a DIY enthusiast, a planer can greatly enhance your woodworking projects, offering a range of benefits and capabilities. In this article, we will explore the various uses and advantages of a planer, shedding light on why it is considered a woodworker’s best friend.
History of Planers
Woodworking, an ancient craft, has witnessed a fascinating evolution over the centuries, and at the heart of this journey is the history of planers. These tools, essential for refining and shaping wood, have a rich and diverse history that reflects the ever-changing needs and innovations in the woodworking industry.
The Early Days of Planers
The origins of planers can be traced back to ancient civilizations where craftsmen used handheld tools to shape and smooth wood manually. These early tools were primitive compared to today’s planers, but they laid the groundwork for the precision and efficiency that modern woodworkers demand.
Medieval Advancements
As craftsmanship advanced, so did the tools. During the medieval period, woodworking saw notable improvements. The introduction of larger, more robust planers allowed craftsmen to tackle more significant projects. However, these were still manually operated and required a considerable amount of physical effort.
The Industrial Revolution
The real transformation in the history of planers occurred during the Industrial Revolution in the 18th and 19th centuries. This era marked a shift from manual to mechanized tools. The invention of steam-powered engines and the development of complex machinery revolutionized woodworking, including planers.
Steam-driven planers were capable of handling larger volumes of wood with greater precision and efficiency. This marked the beginning of mass production in the woodworking industry, enabling the creation of standardized components for various applications.
The Electric Era
The early 20th century witnessed another leap in planer technology with the advent of electricity. Electric planers became more accessible, eliminating the need for complex and bulky steam engines. This made planers more user-friendly, allowing both professionals and hobbyists to benefit from the efficiency of electrically powered tools.
Advancements in the Late 20th Century
The latter half of the 20th century brought further refinements to planer design. The integration of advanced materials and electronic controls enhanced precision and safety. Woodworkers now had access to planers with adjustable depth settings, ensuring greater control over the thickness of the wood being planed.
Modern Planers and Beyond
In the 21st century, planers have become sophisticated machines, blending precision engineering with digital technology. Computer Numerical Control (CNC) planers offer unprecedented accuracy and automation, allowing woodworkers to achieve intricate designs with minimal effort.
The history of planers has been a continuous journey of innovation and improvement. From humble handheld tools in ancient times to computer-controlled precision machines today, planers have played a vital role in shaping the world of woodworking. As technology continues to advance, it’s exciting to anticipate what the future holds for these indispensable tools.
Types of Planers
Woodworkers, whether professionals or hobbyists, are presented with a variety of planers to choose from, each catering to specific needs and preferences. Understanding the different types of planers is crucial for selecting the right tool for the job. Let’s explore the distinctions between handheld and stationary planers.
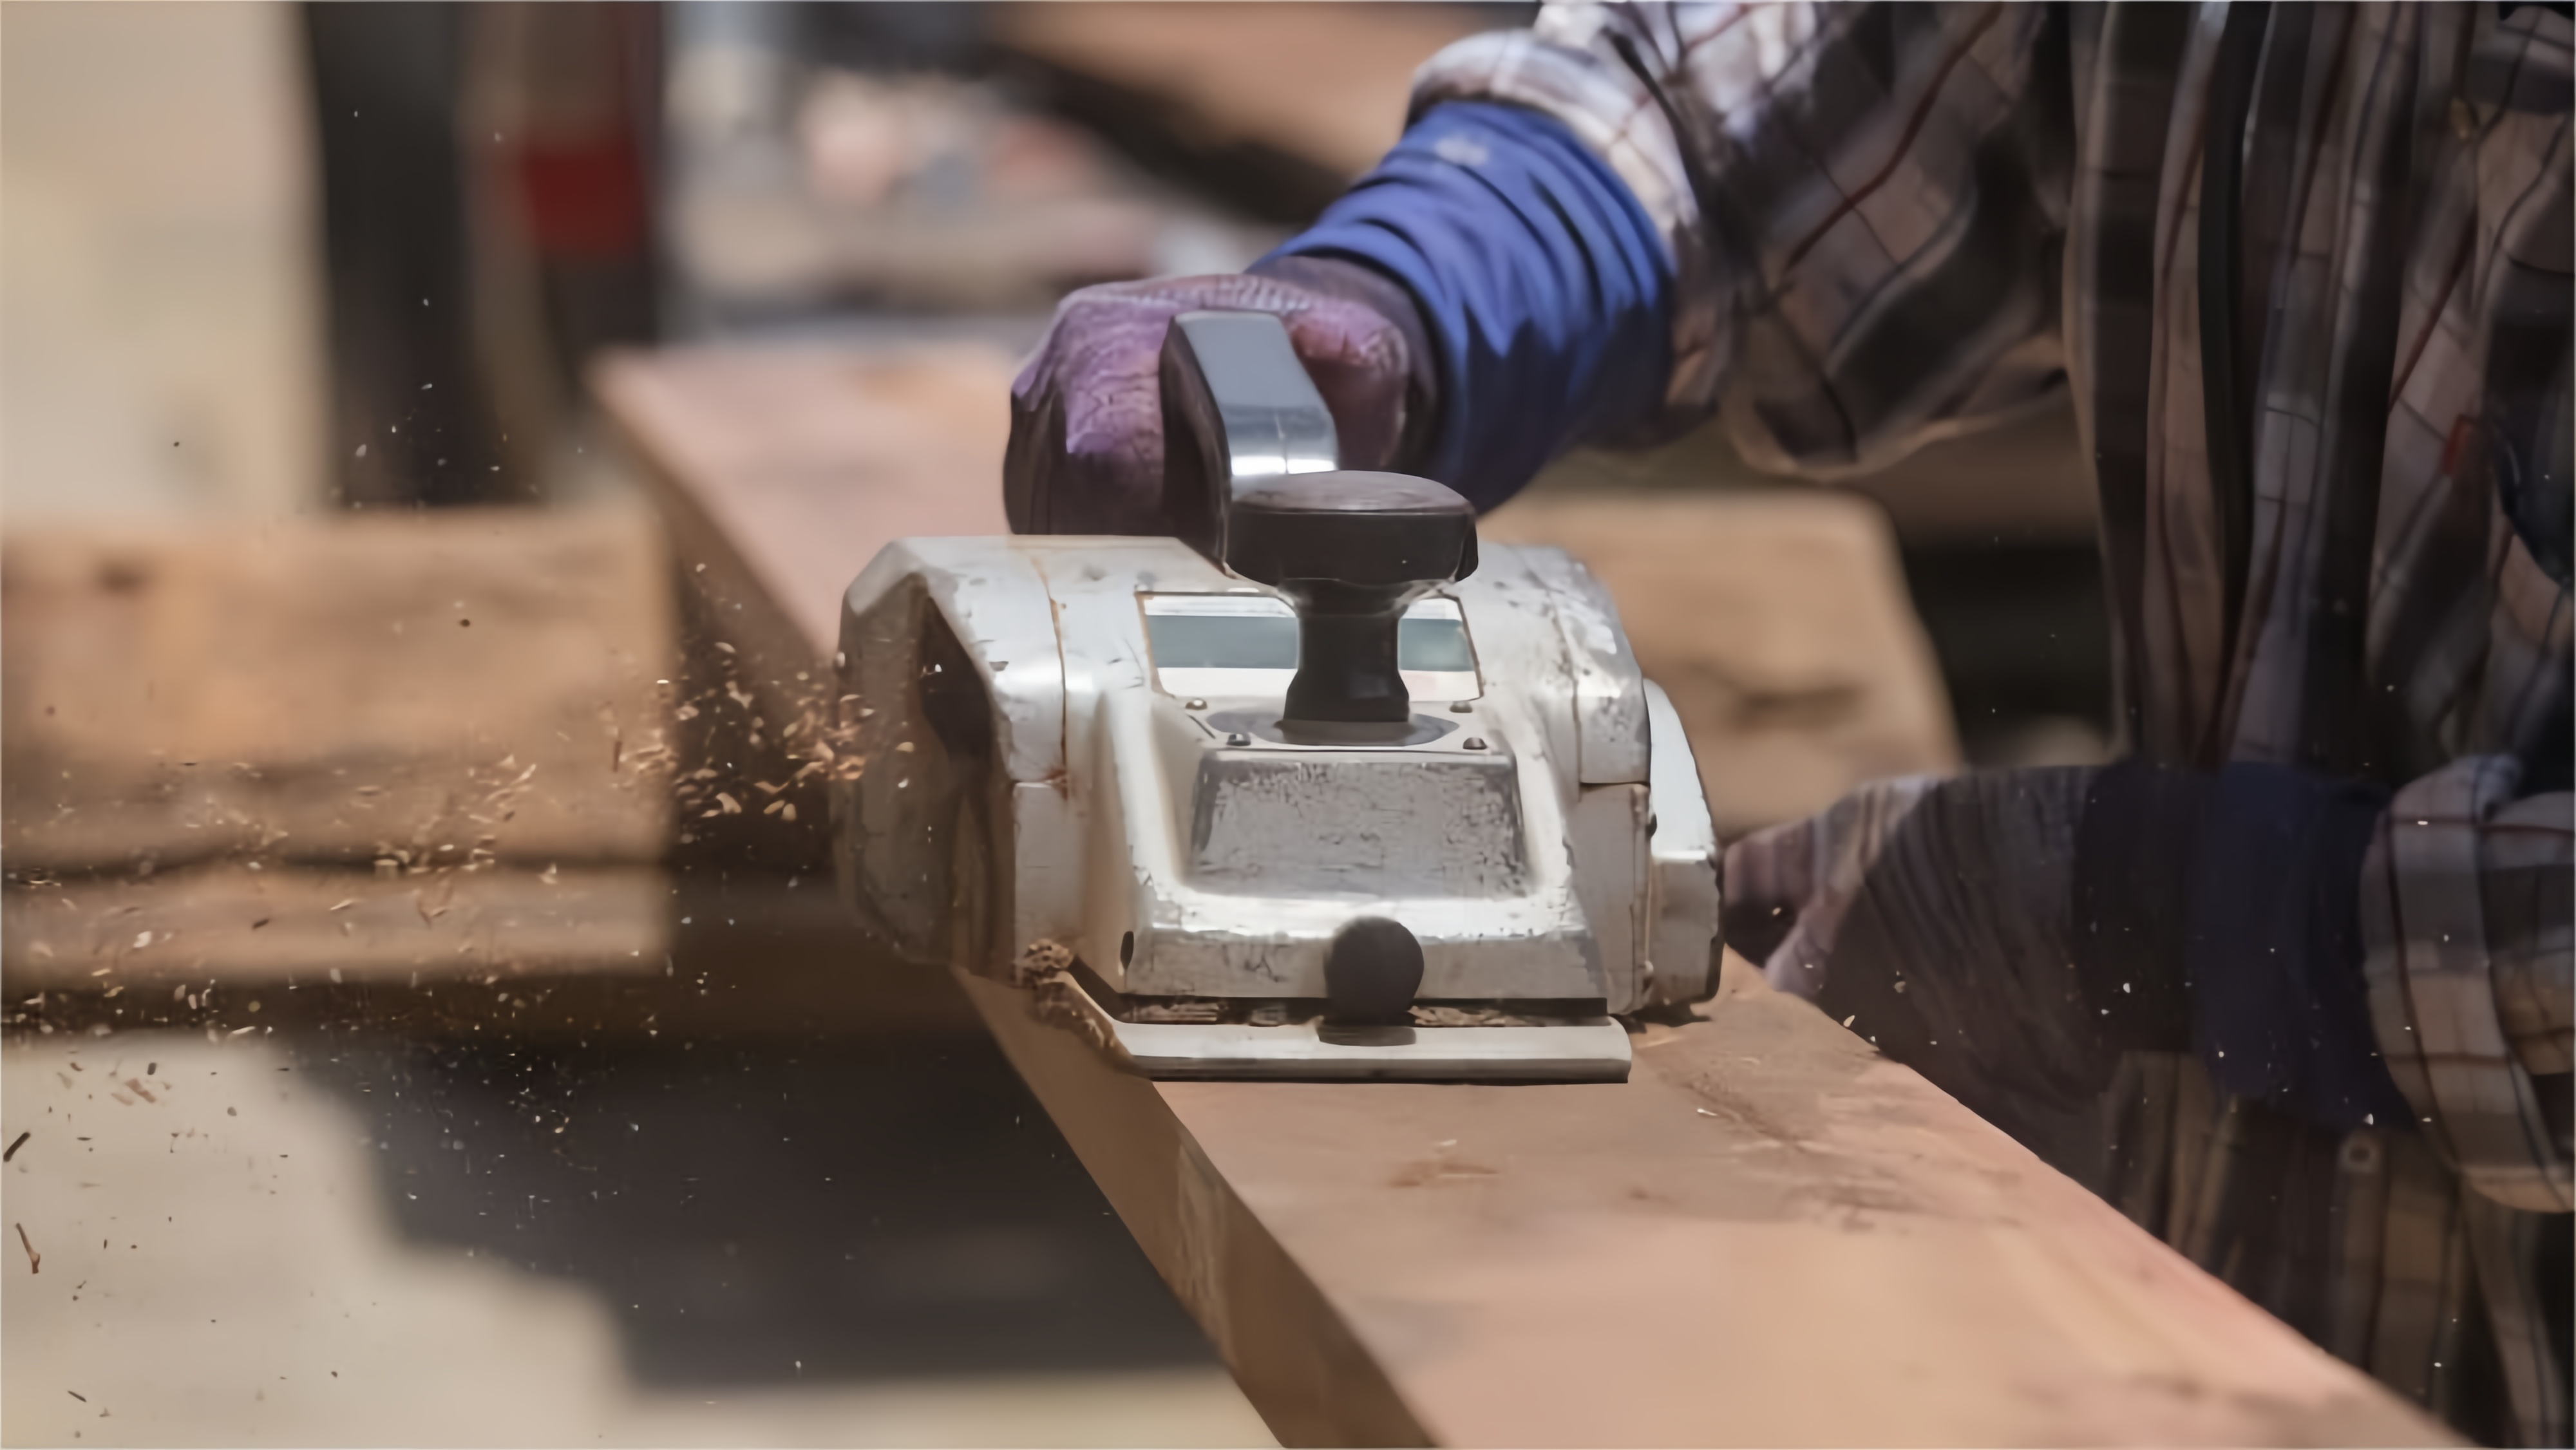
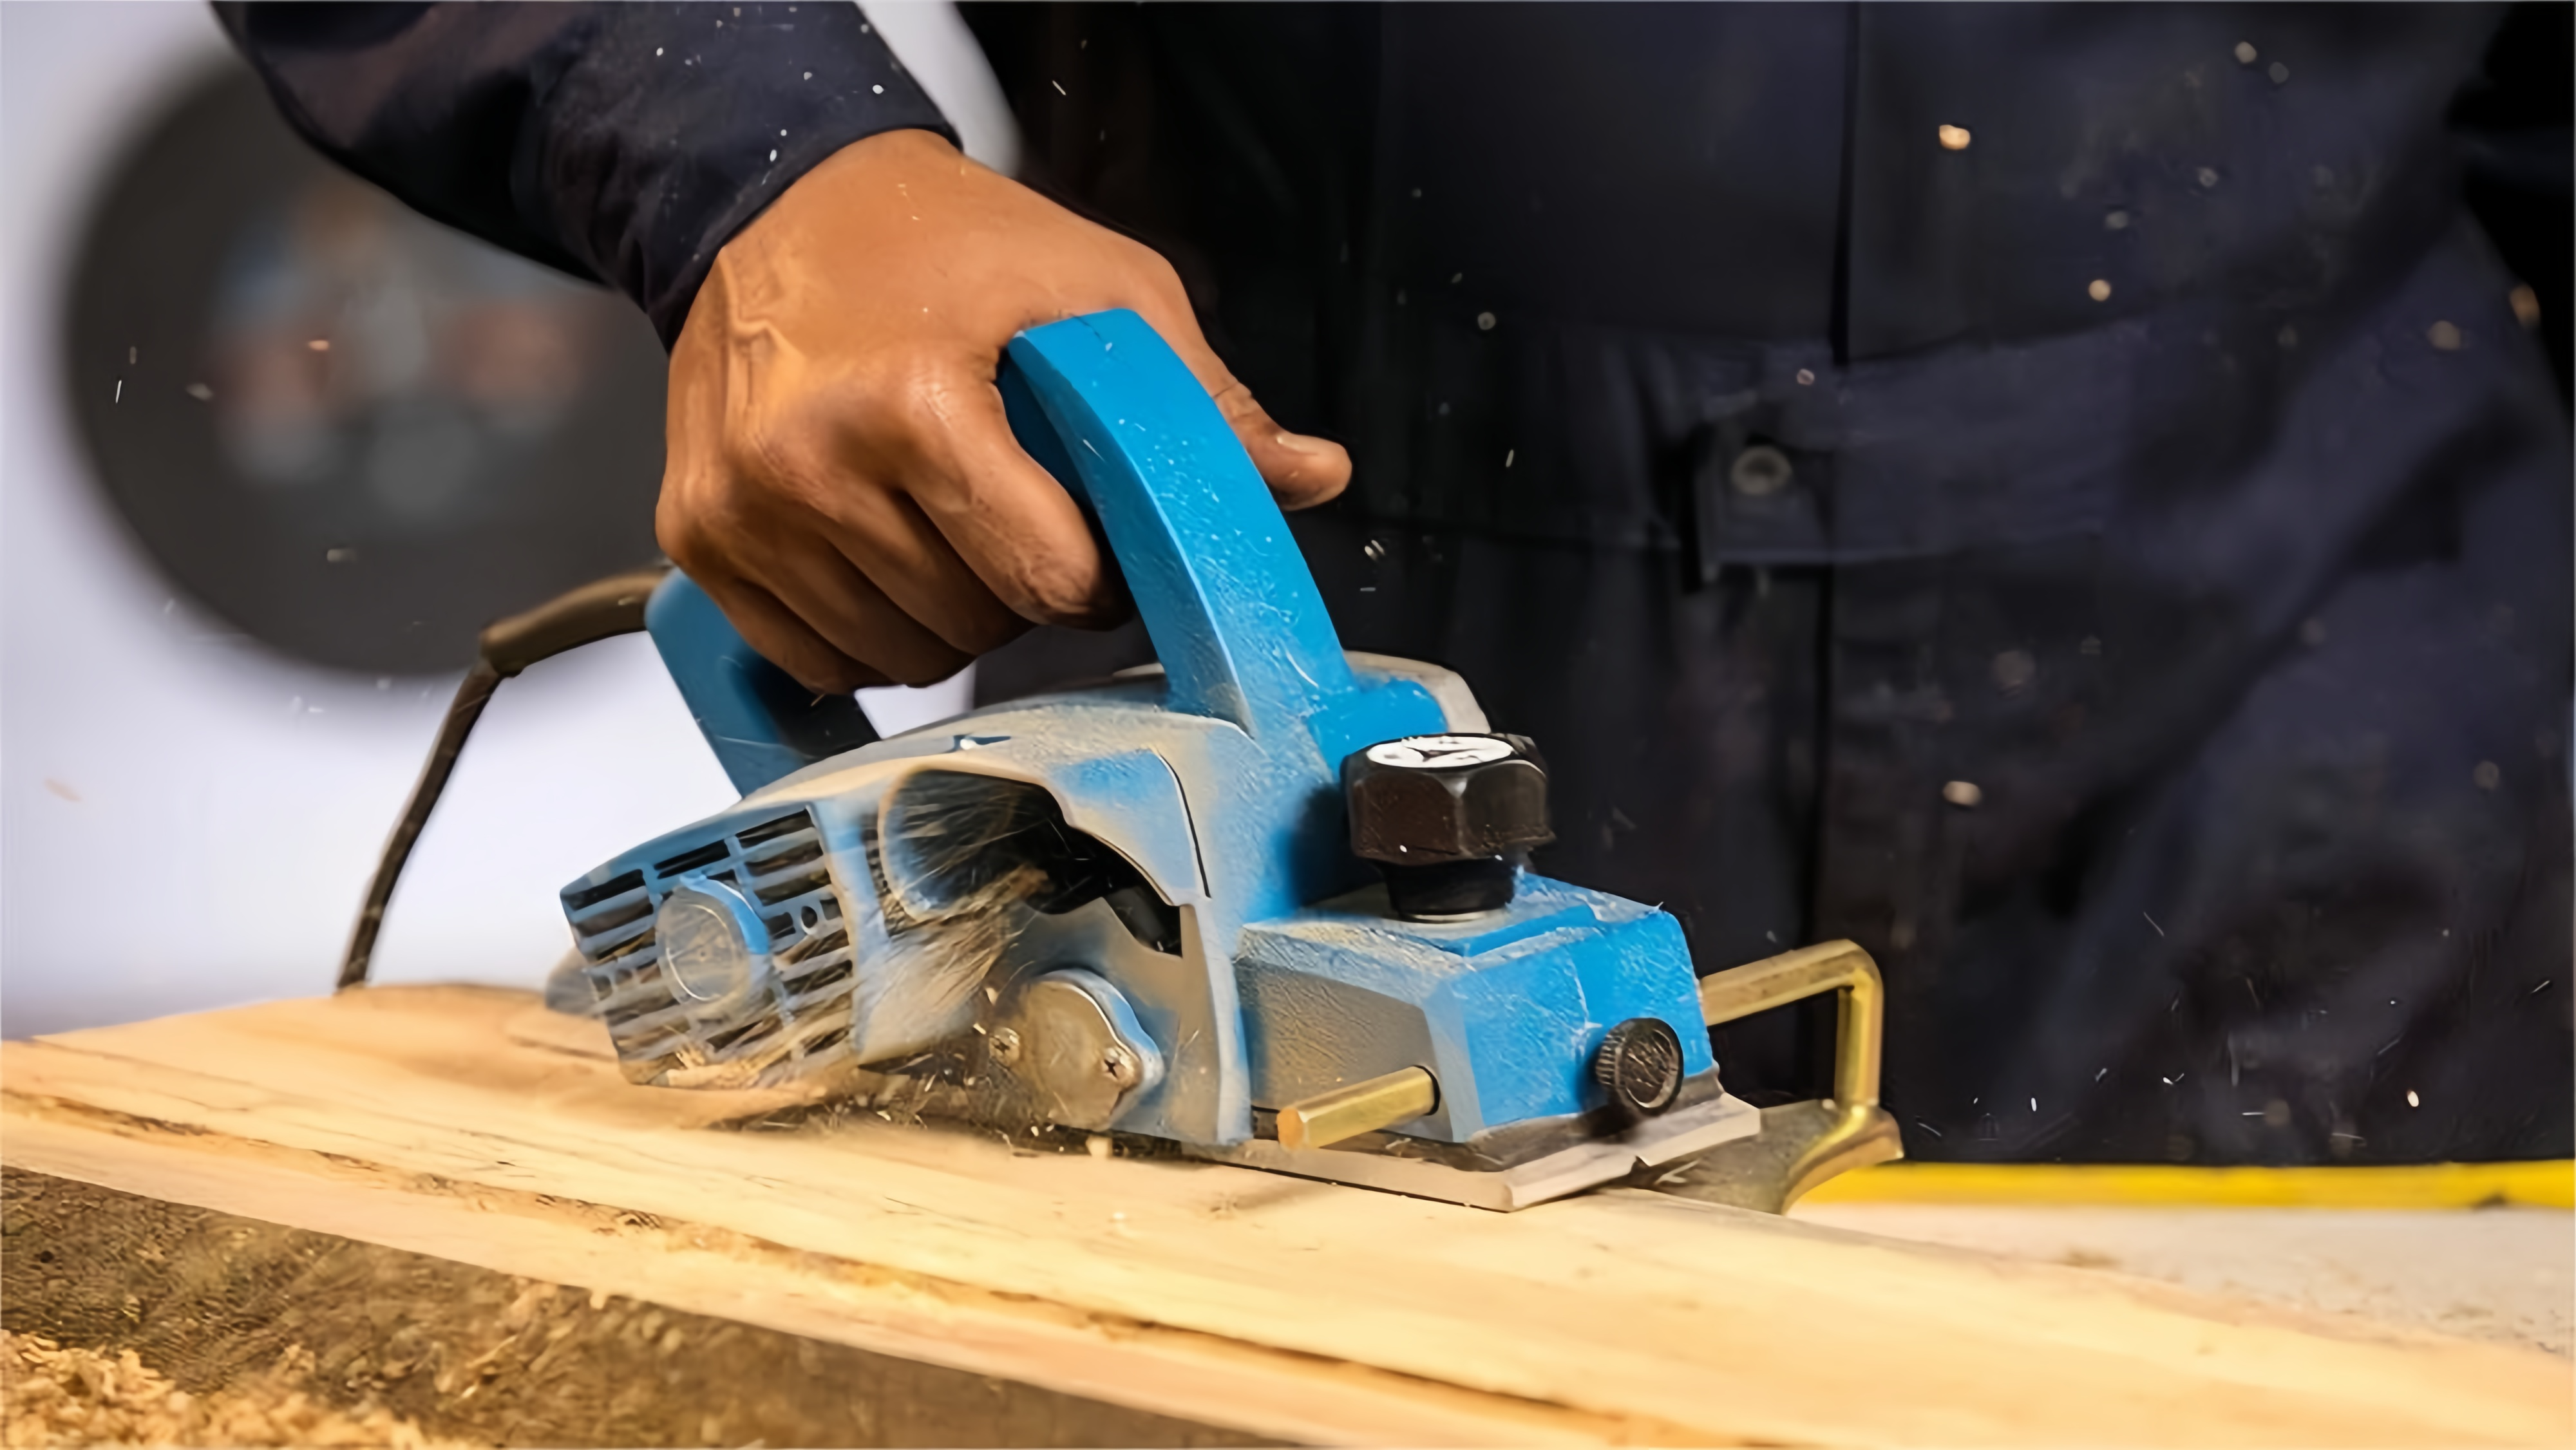
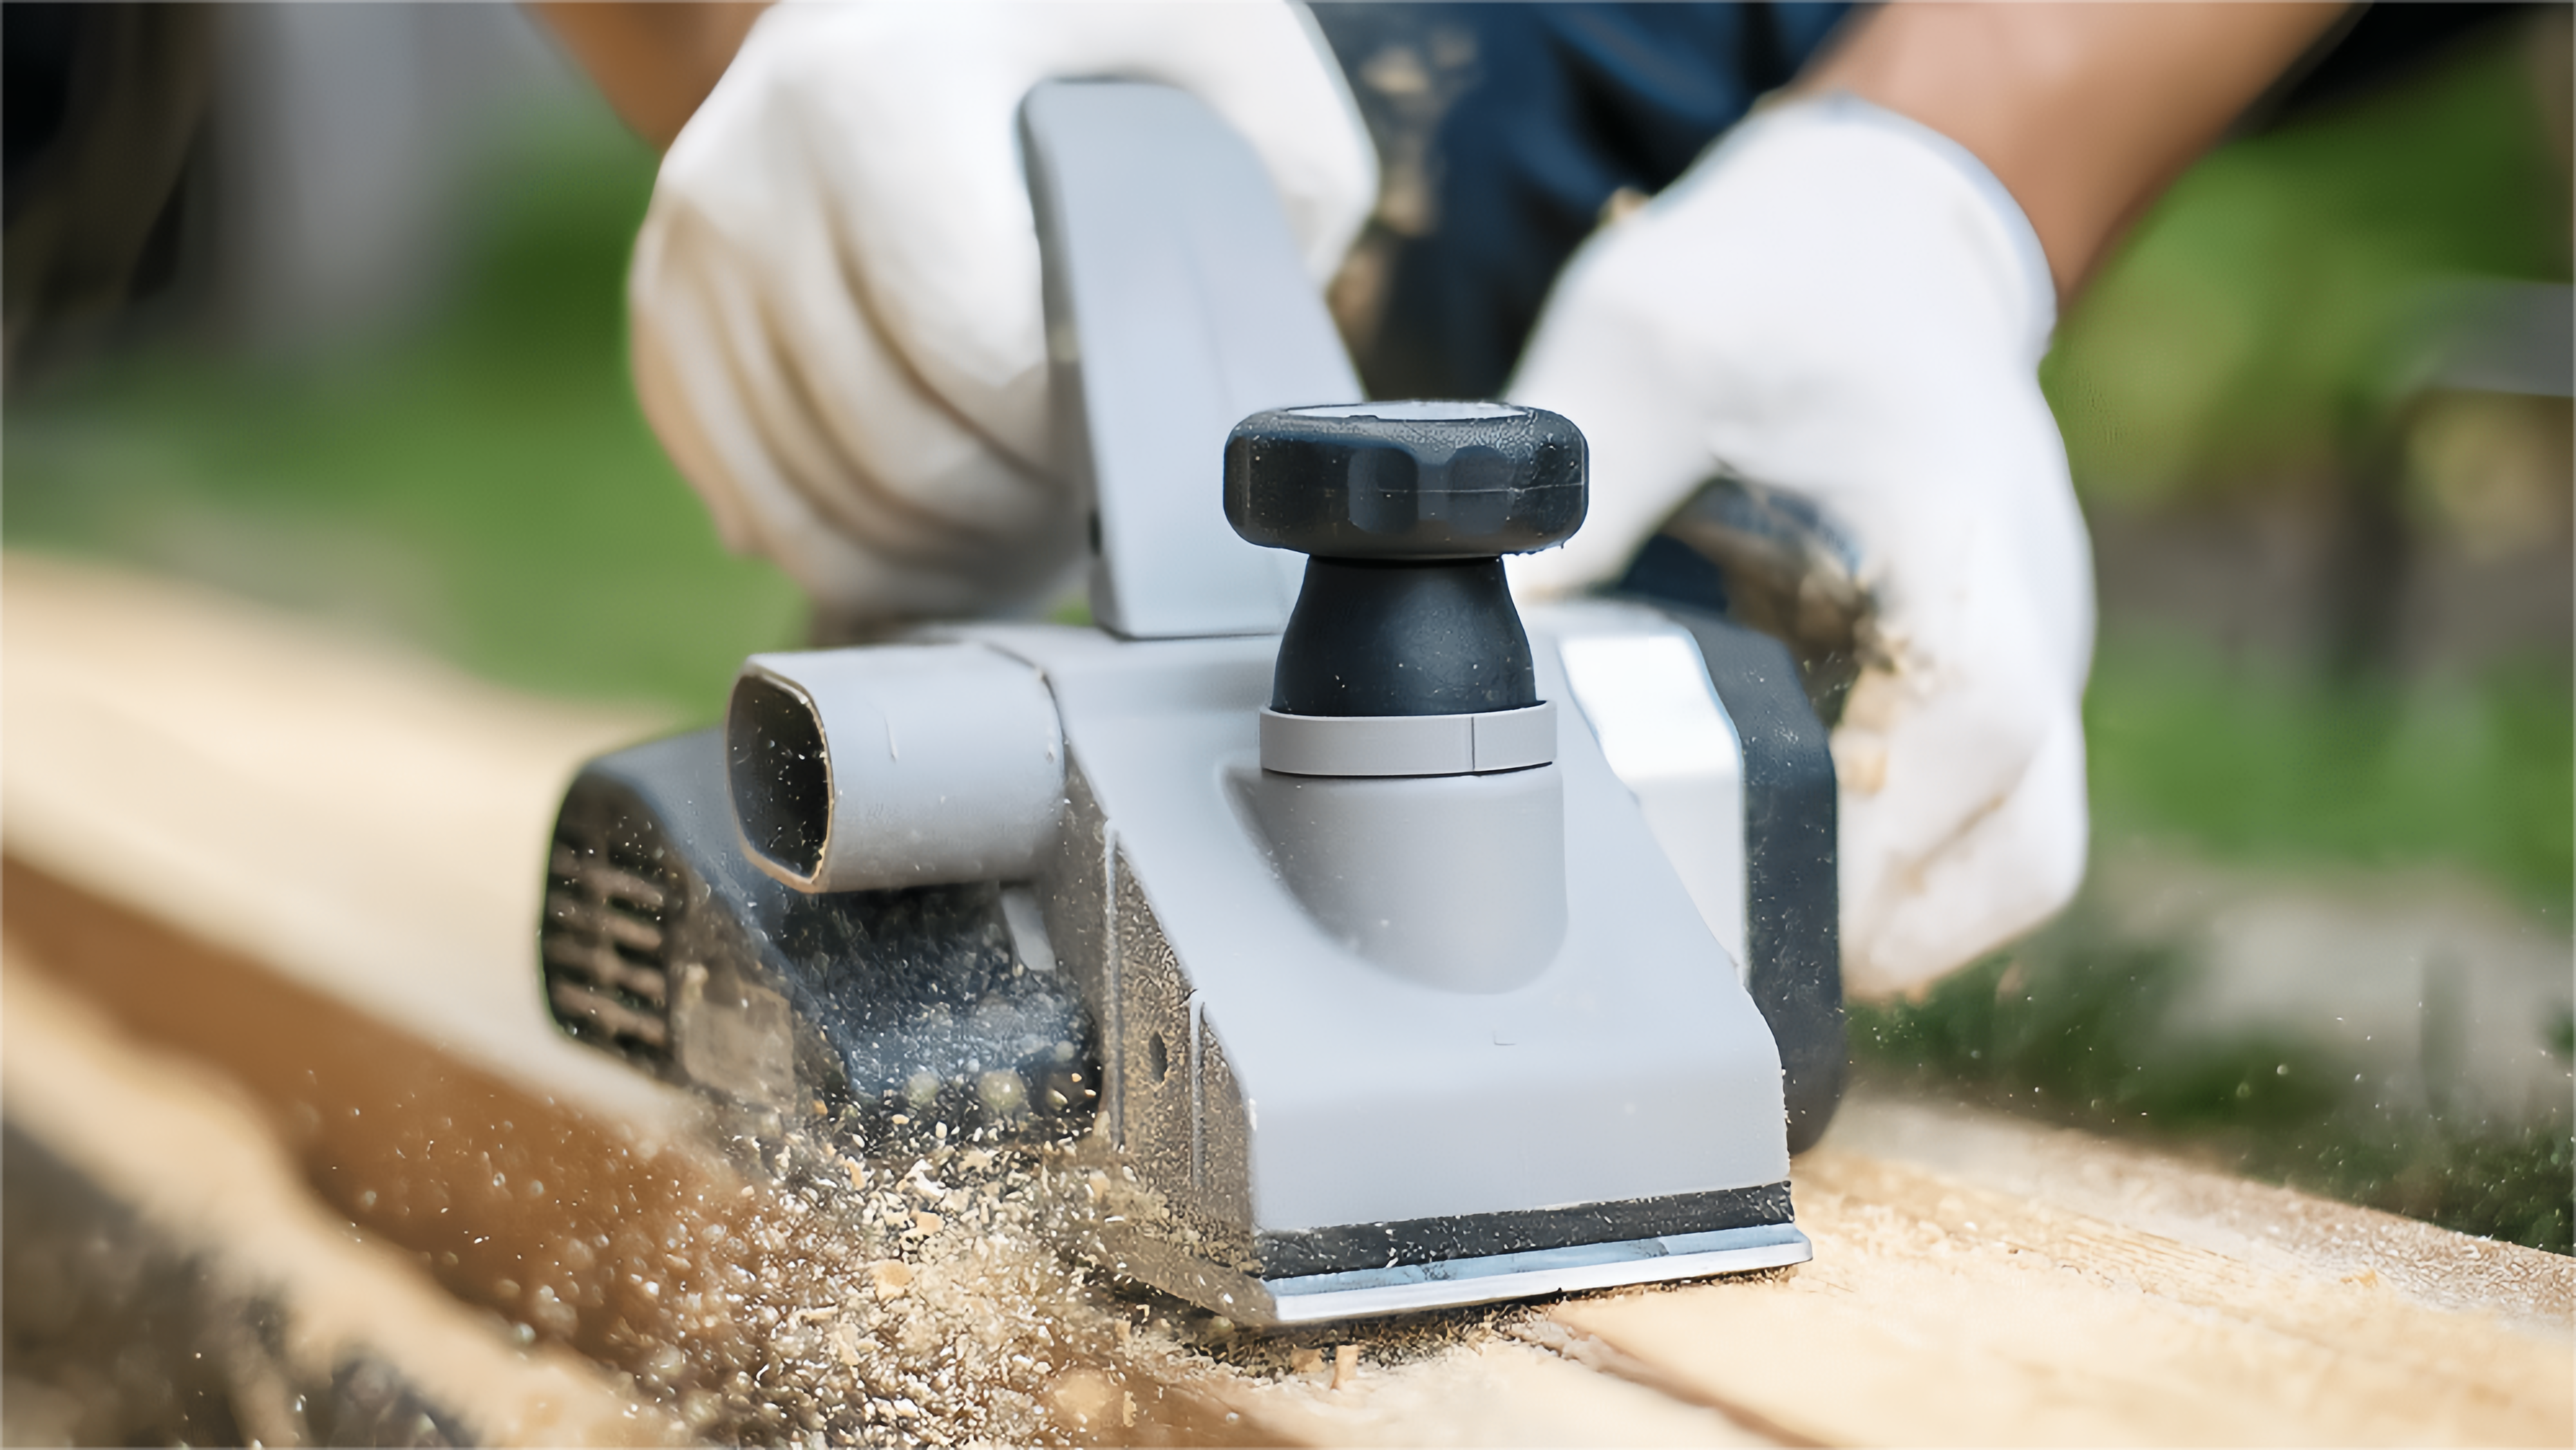
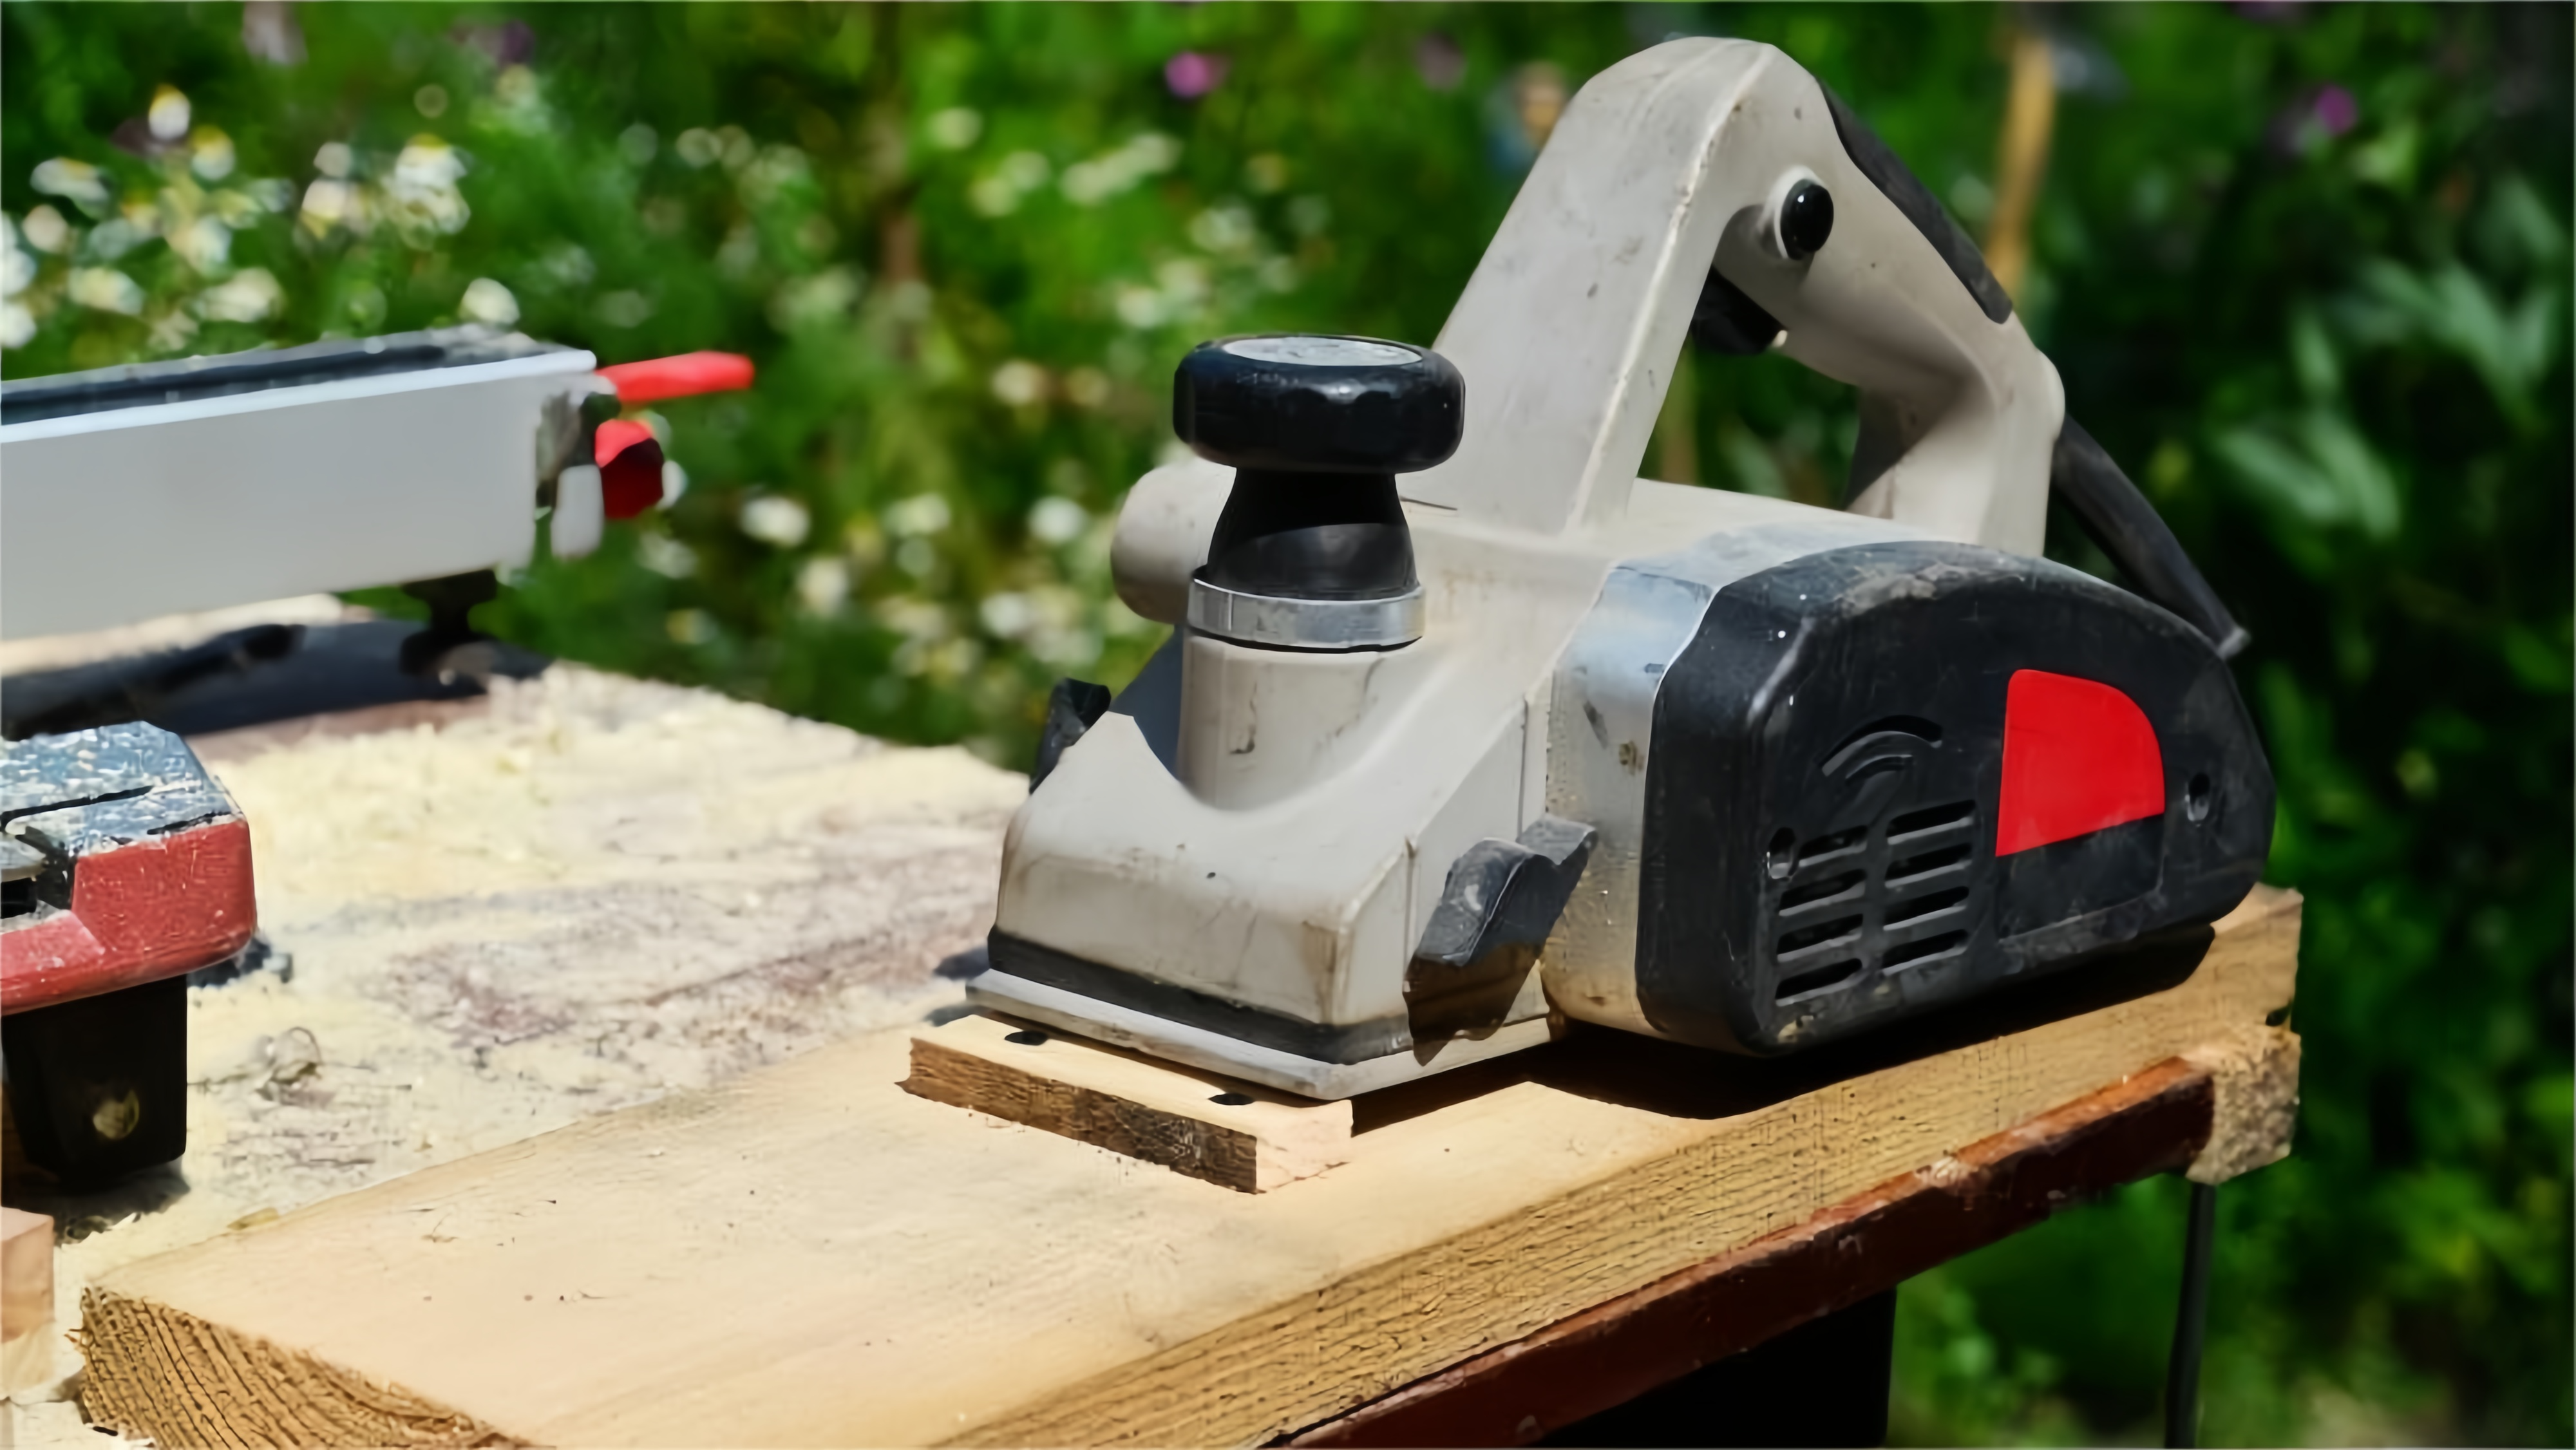
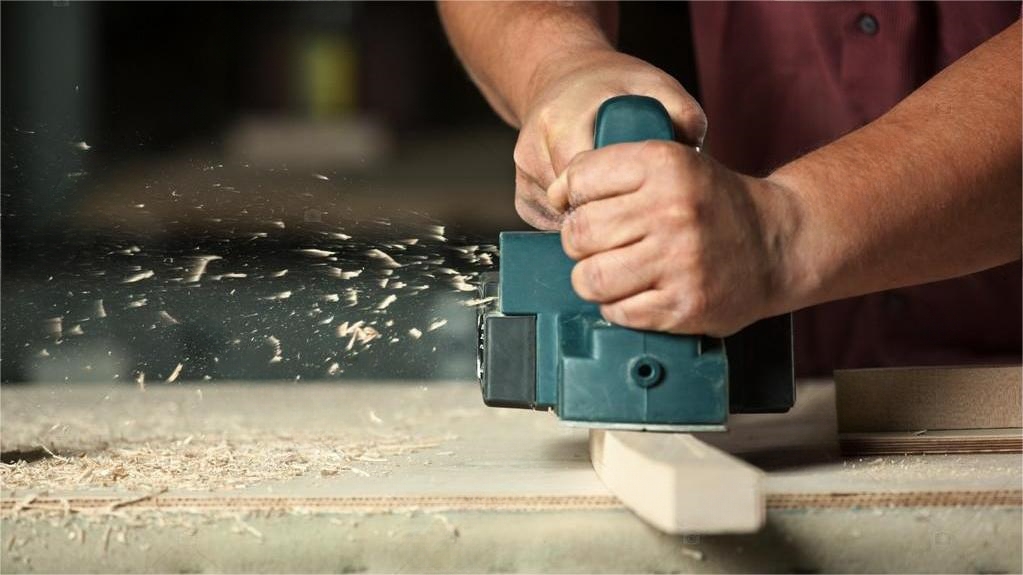
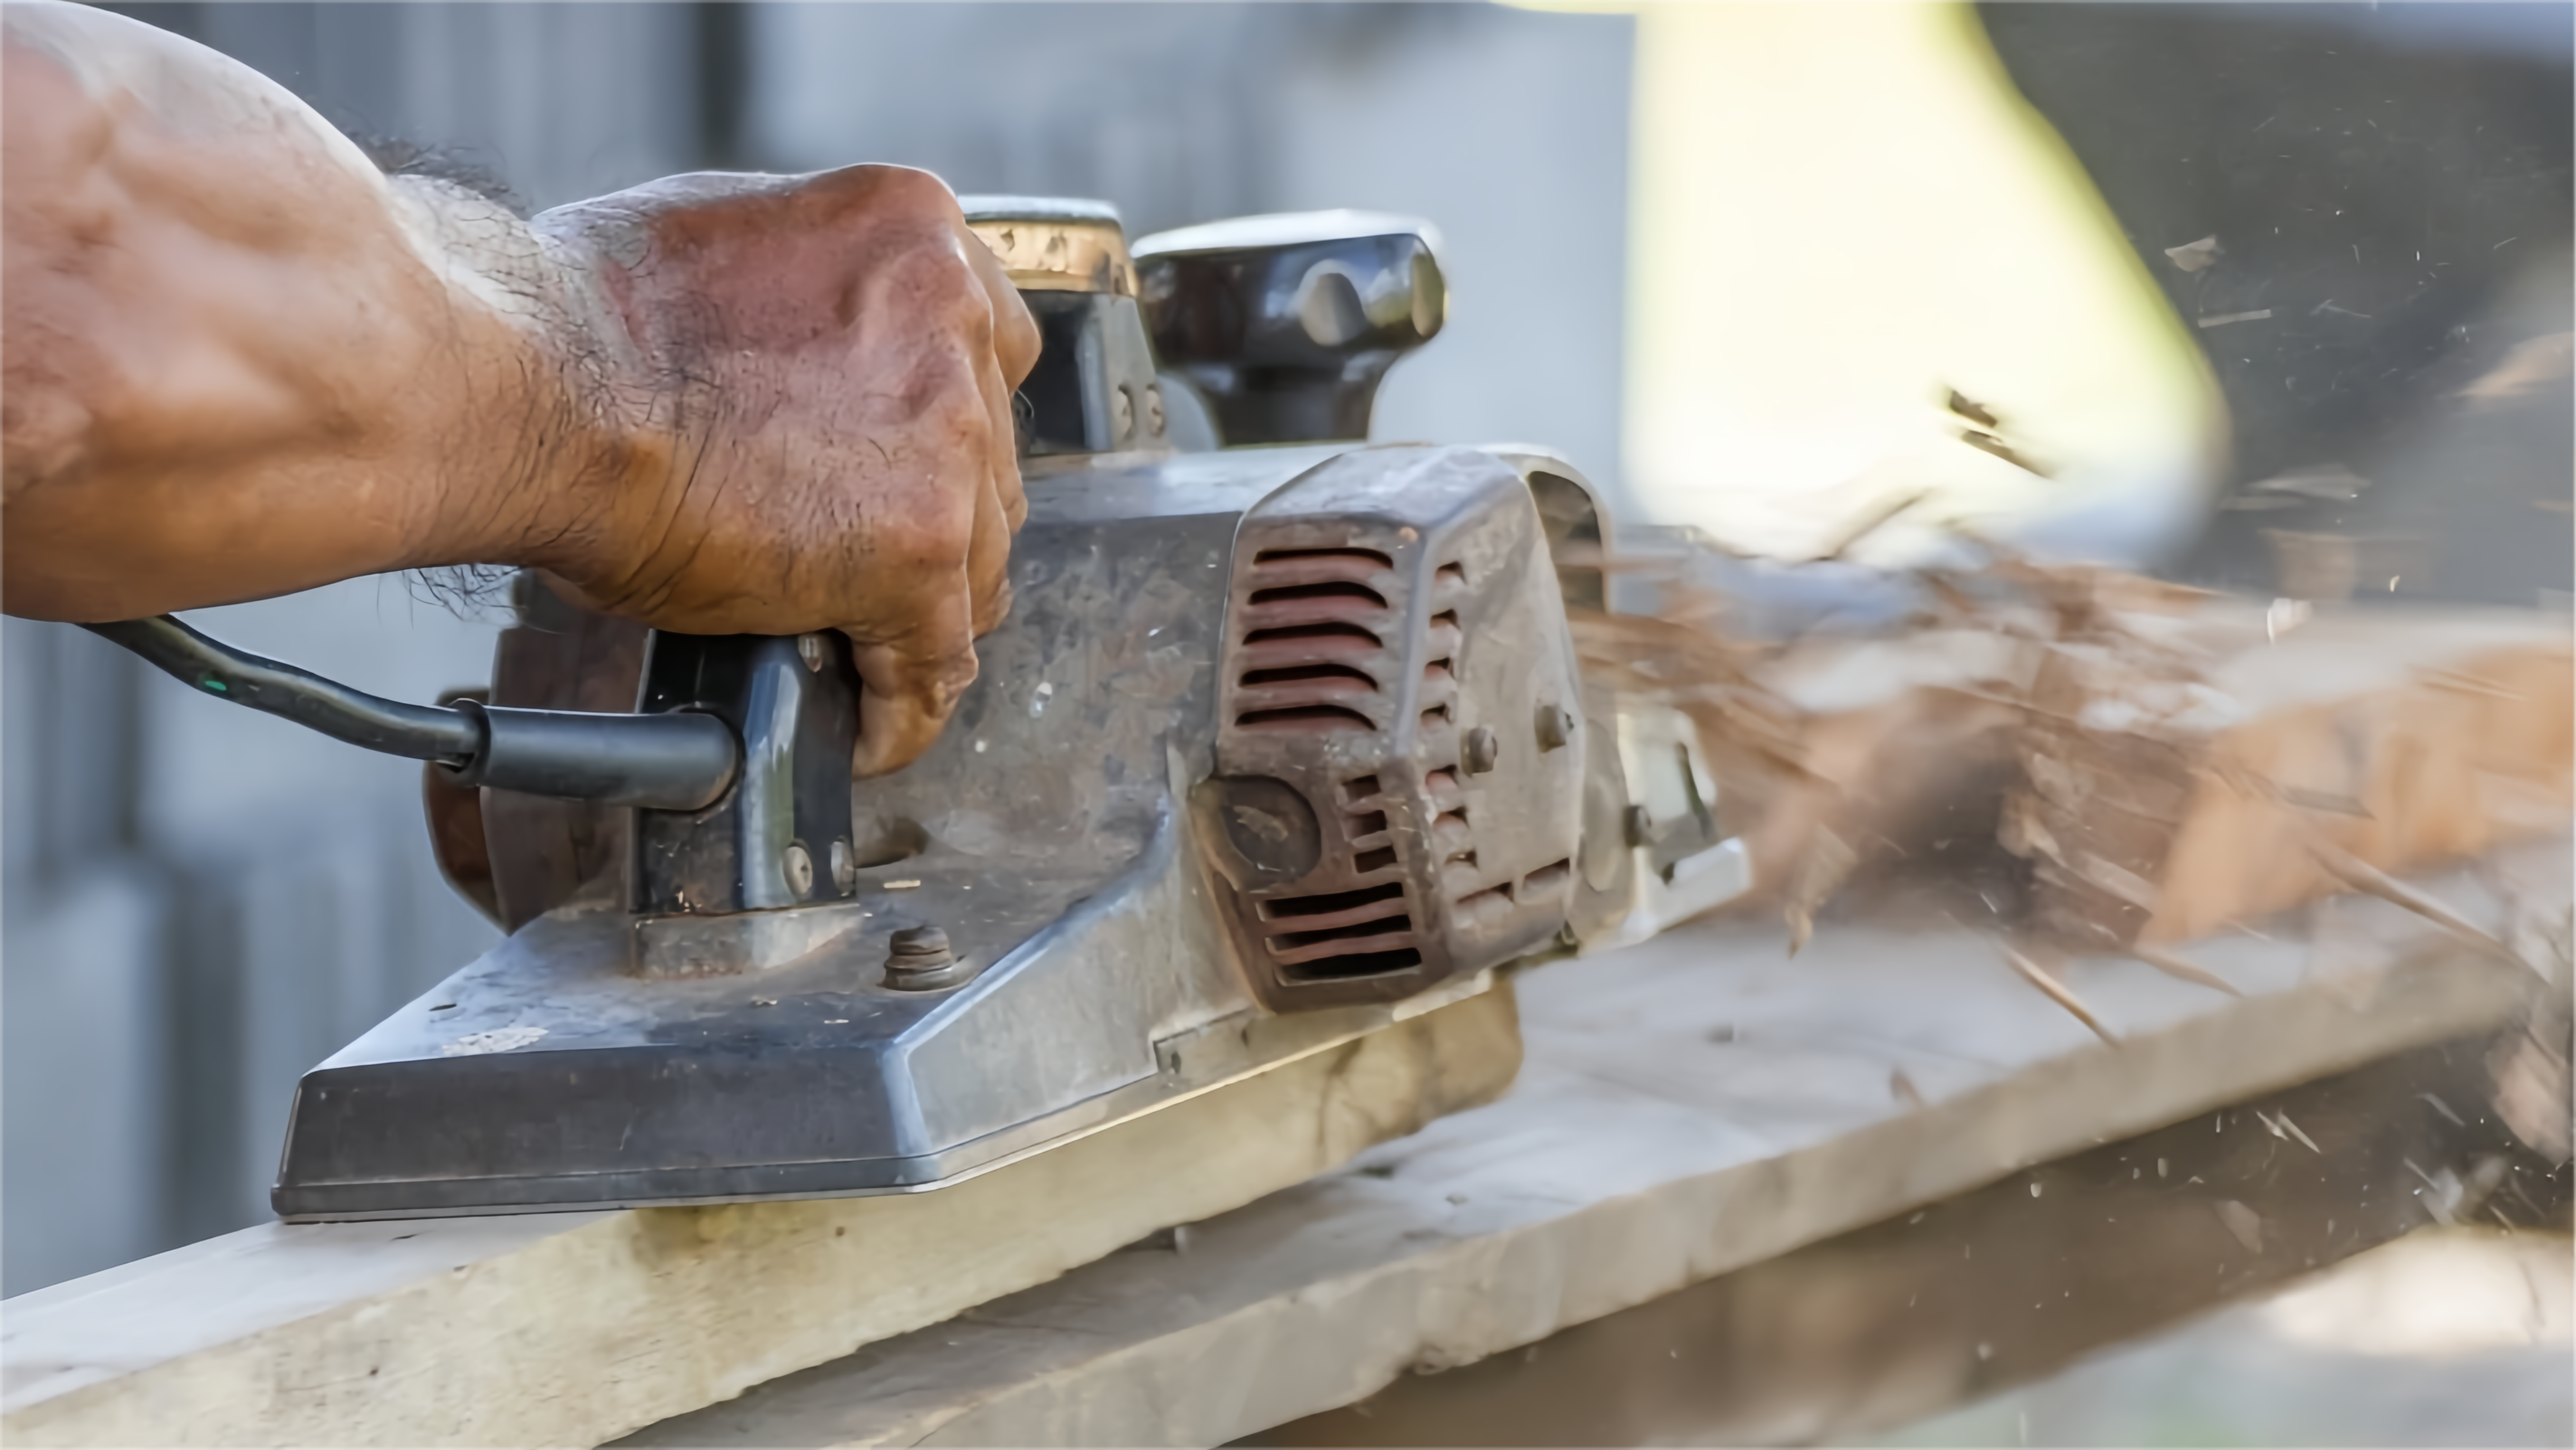
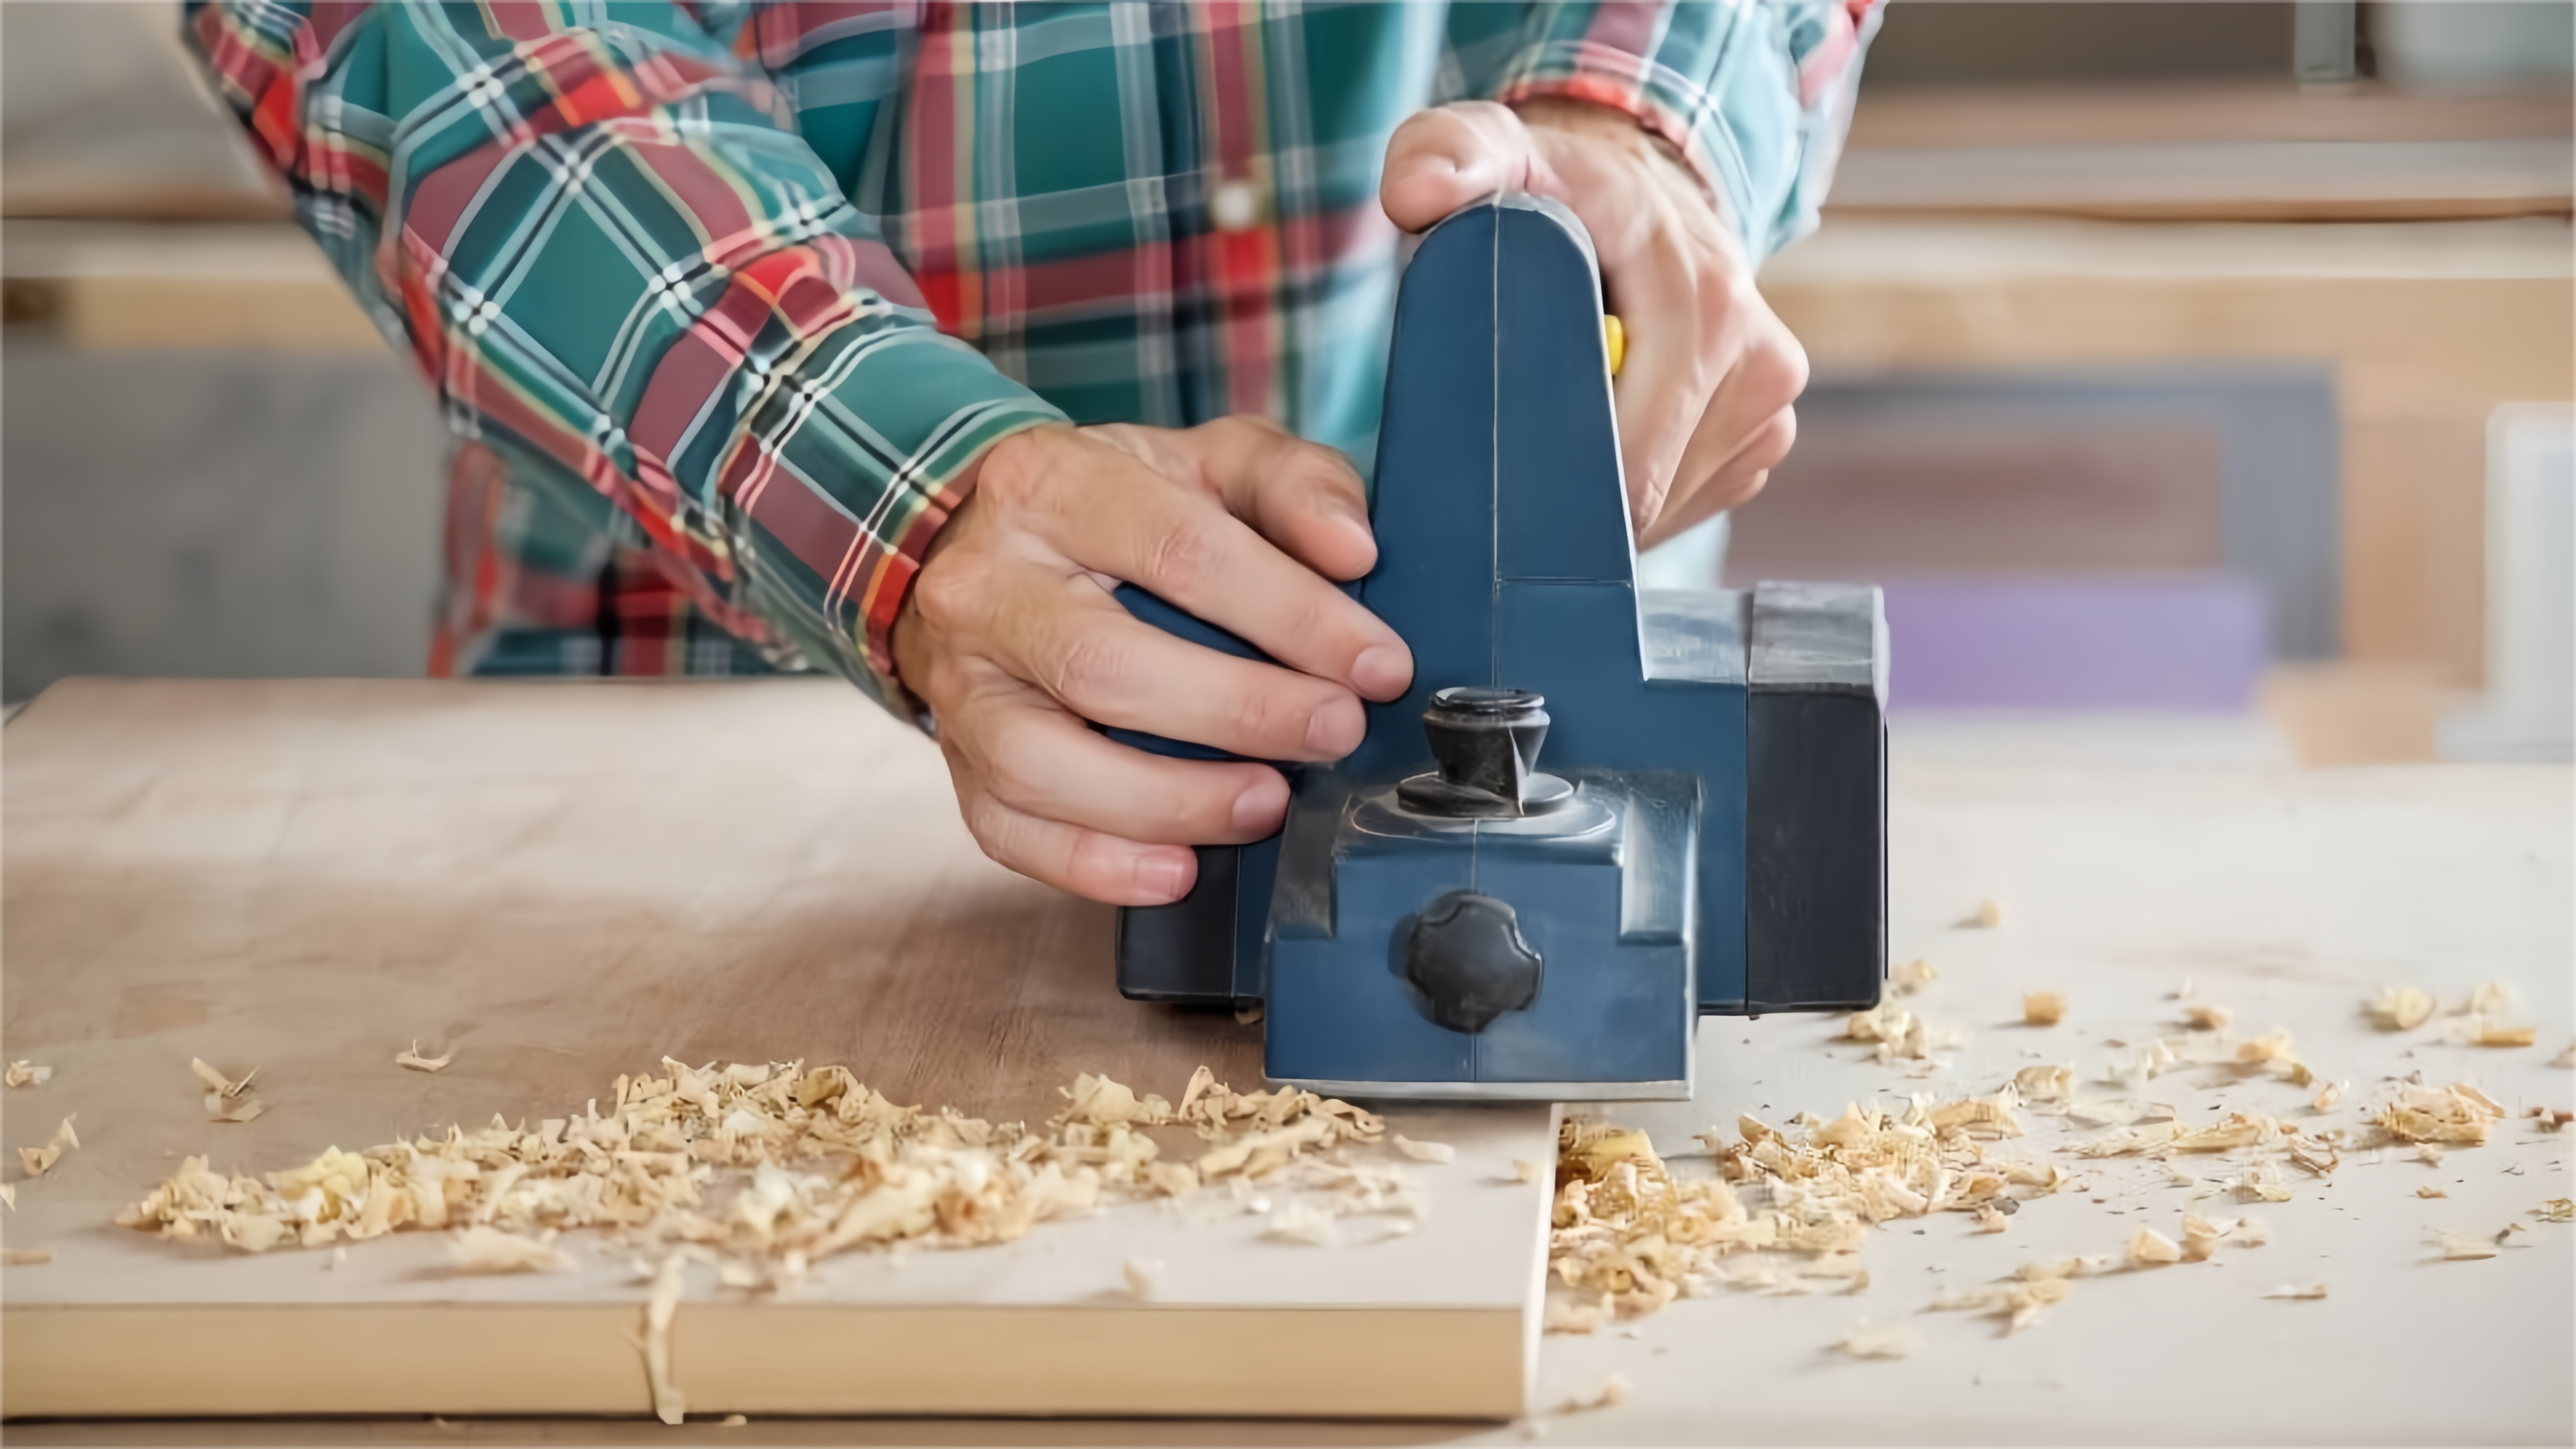
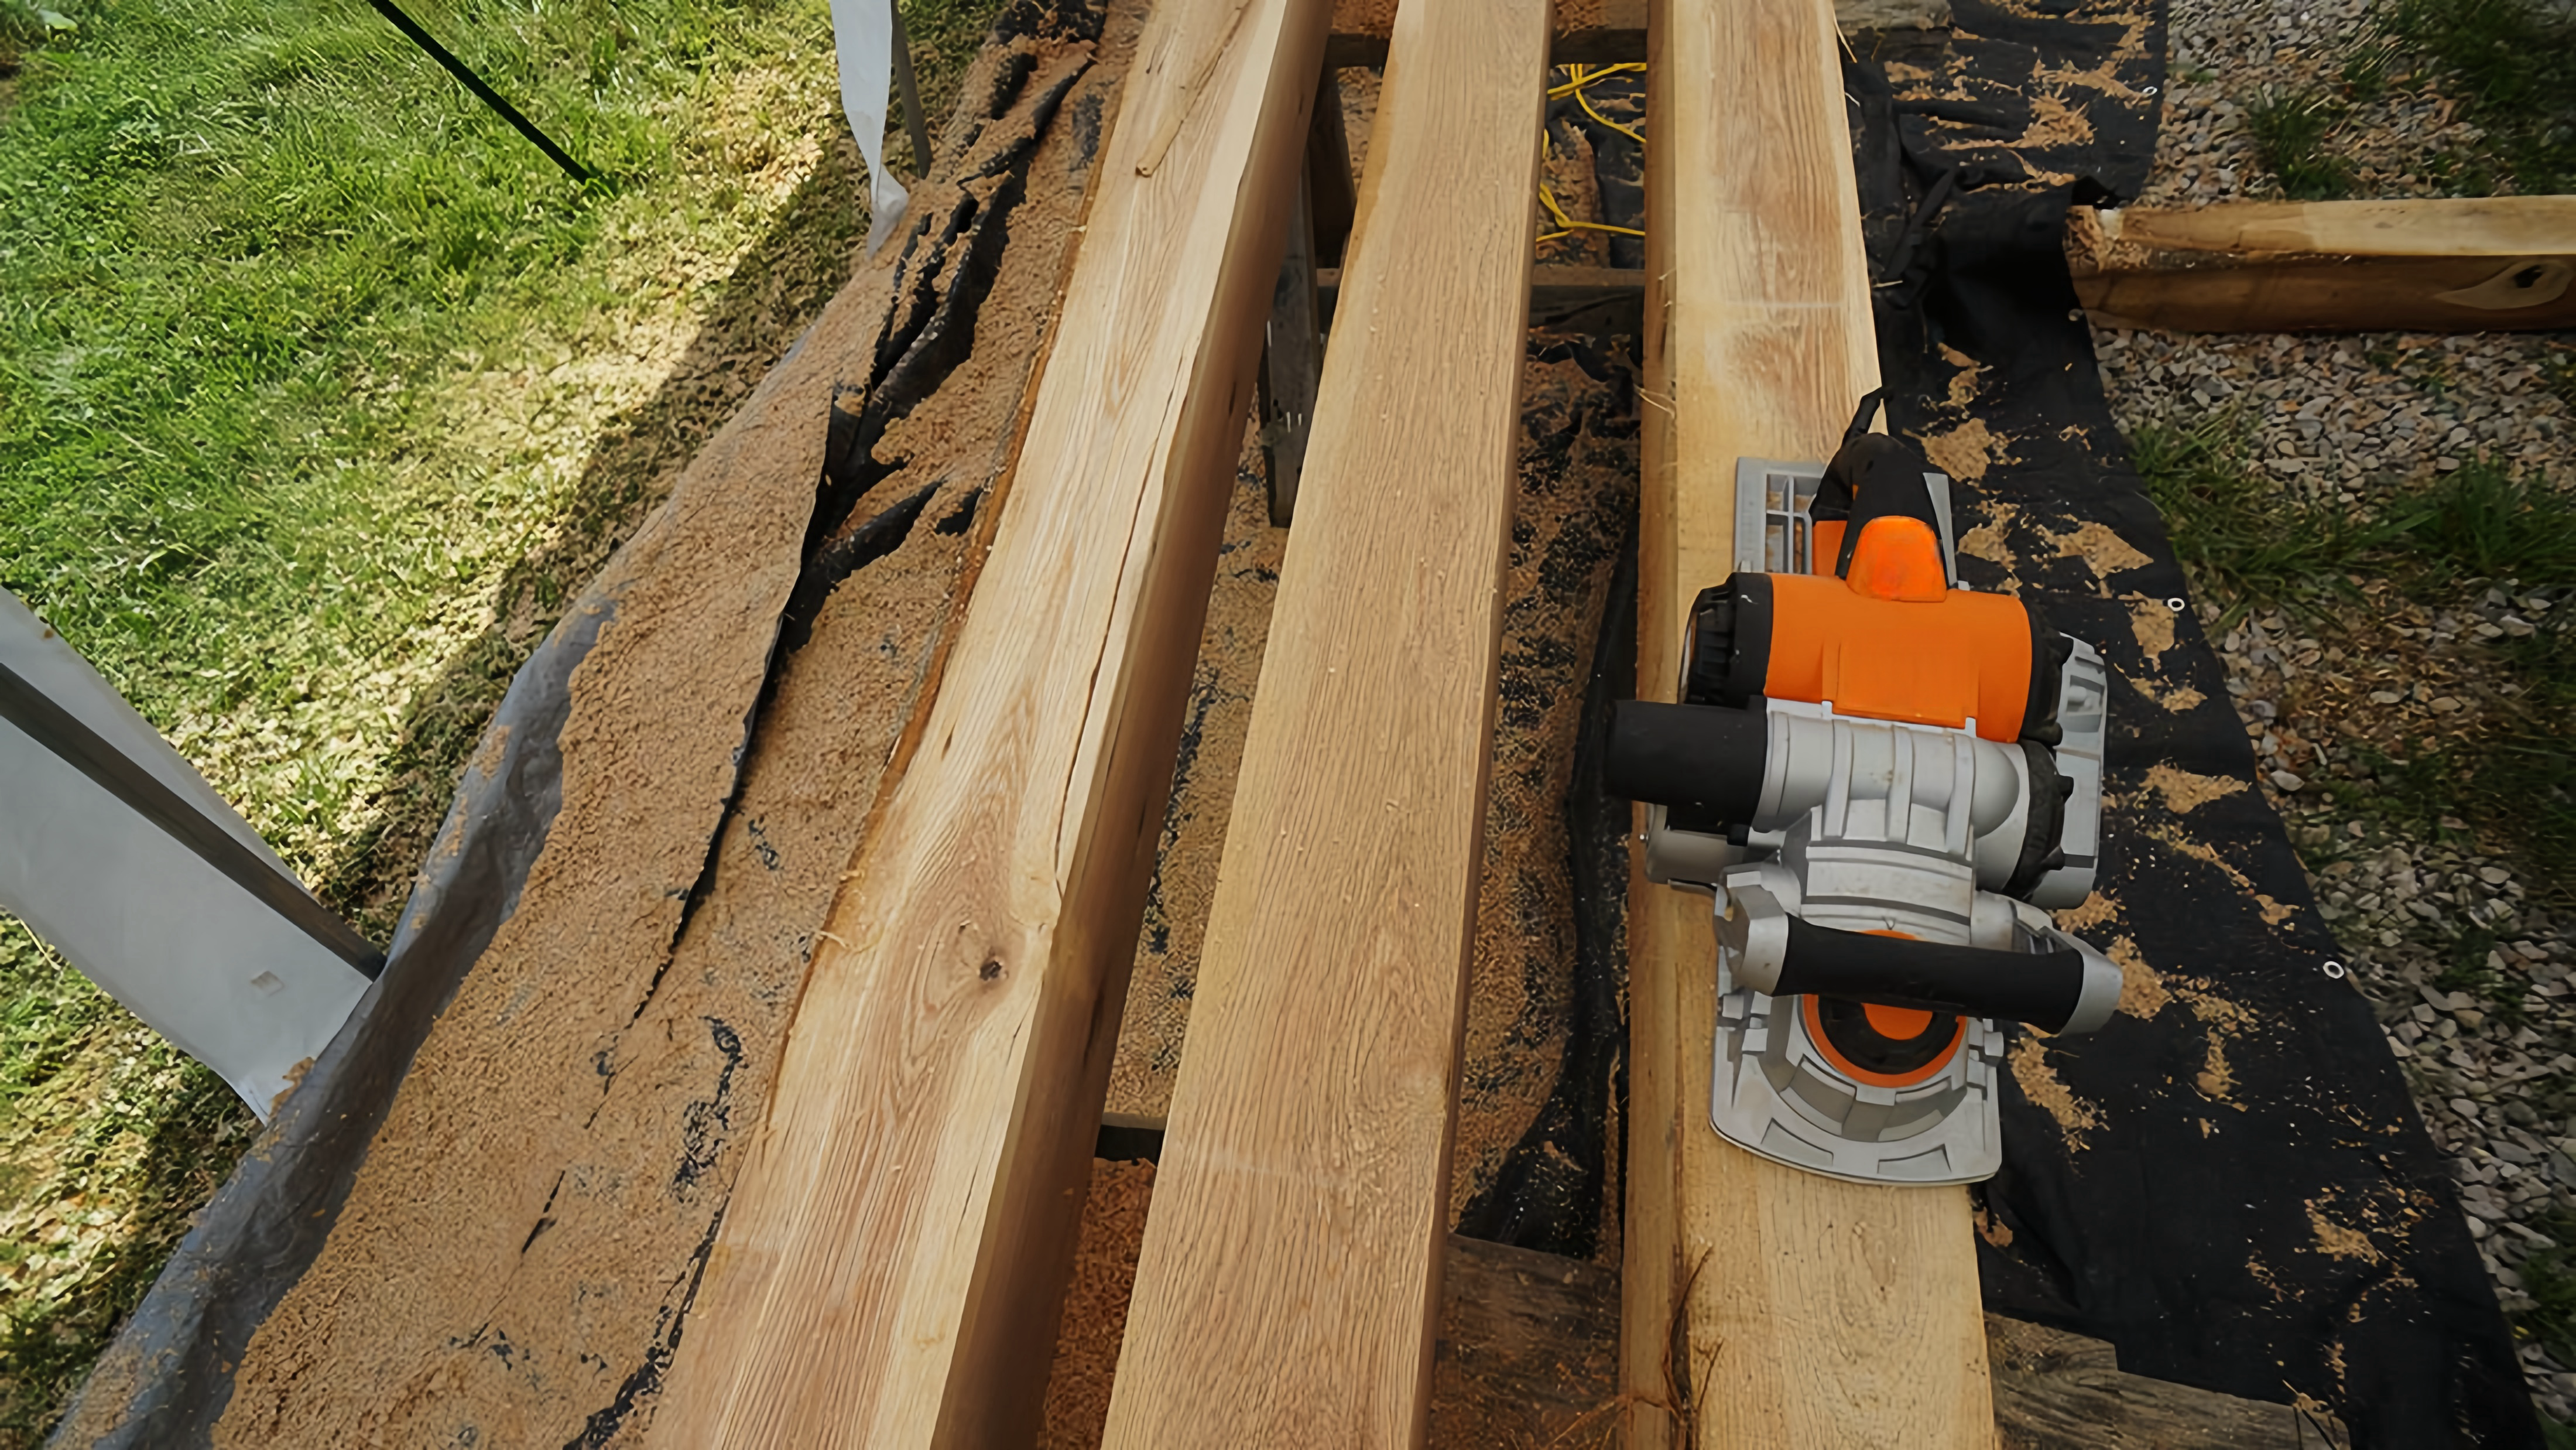
Handheld Planers
Overview:
Handheld planers, as the name suggests, are portable tools that offer flexibility and ease of use. They are ideal for smaller projects or situations where mobility is essential.
Features:
Portability:
One of the primary advantages is their portability, allowing users to move the tool across the wood surface easily.
Versatility:
Handheld planers are versatile and suitable for a range of tasks, from smoothing surfaces to chamfering edges.
Compact Design:
These planers are generally more compact, making them suitable for tight spaces or on-the-go projects.
Best Used For:
Trimming and Smoothing:
Perfect for tasks that require precision and control, such as trimming doors or smoothing uneven surfaces.
Beveling Edges:
Handheld planers excel at creating beveled edges on wooden pieces.
Stationary Planers
Overview:
Stationary planers, in contrast, are larger, more powerful machines designed for stability and efficiency. They are typically used in woodworking shops for more extensive projects.
Features:
Stability:
Stationary planers are stationary, providing a stable platform for handling larger pieces of wood.
Powerful Motors:
Equipped with powerful motors, these planers can handle thicker and harder wood with ease.
Precise Thickness Control:
Stationary planers often come with features for precise thickness adjustment, allowing woodworkers to achieve specific dimensions.
Best Used For:
Large Projects:
Ideal for handling large volumes of wood, making them suitable for furniture making and construction projects.
Thicknessing:
Stationary planers excel at consistent thicknessing of boards, a critical aspect of woodworking.
Choosing Between Handheld and Stationary Planers
Considerations:
Project Scale:
For smaller, intricate projects, a handheld planer may be more suitable. For larger-scale projects, a stationary planer is often necessary.
Mobility Needs:
If you need a planer for on-the-go or smaller tasks, a handheld option provides the necessary flexibility.
Precision Requirements:
Stationary planers offer greater precision, making them preferable for projects demanding accuracy.
Understanding the distinctions between handheld and stationary planers is essential for any woodworker. Each type has its unique advantages, and the choice ultimately depends on the specific requirements of the project at hand. Whether you opt for the portability of a handheld planer or the stability of a stationary one, having the right tool for the job ensures a smoother and more successful woodworking experience.
Key Components of a Planer
To fully comprehend and master the use of a planer in woodworking, it’s essential to understand the key components that contribute to its functionality. The interplay of these components determines the precision, efficiency, and quality of the planing process. Let’s delve into the critical elements of a planer:
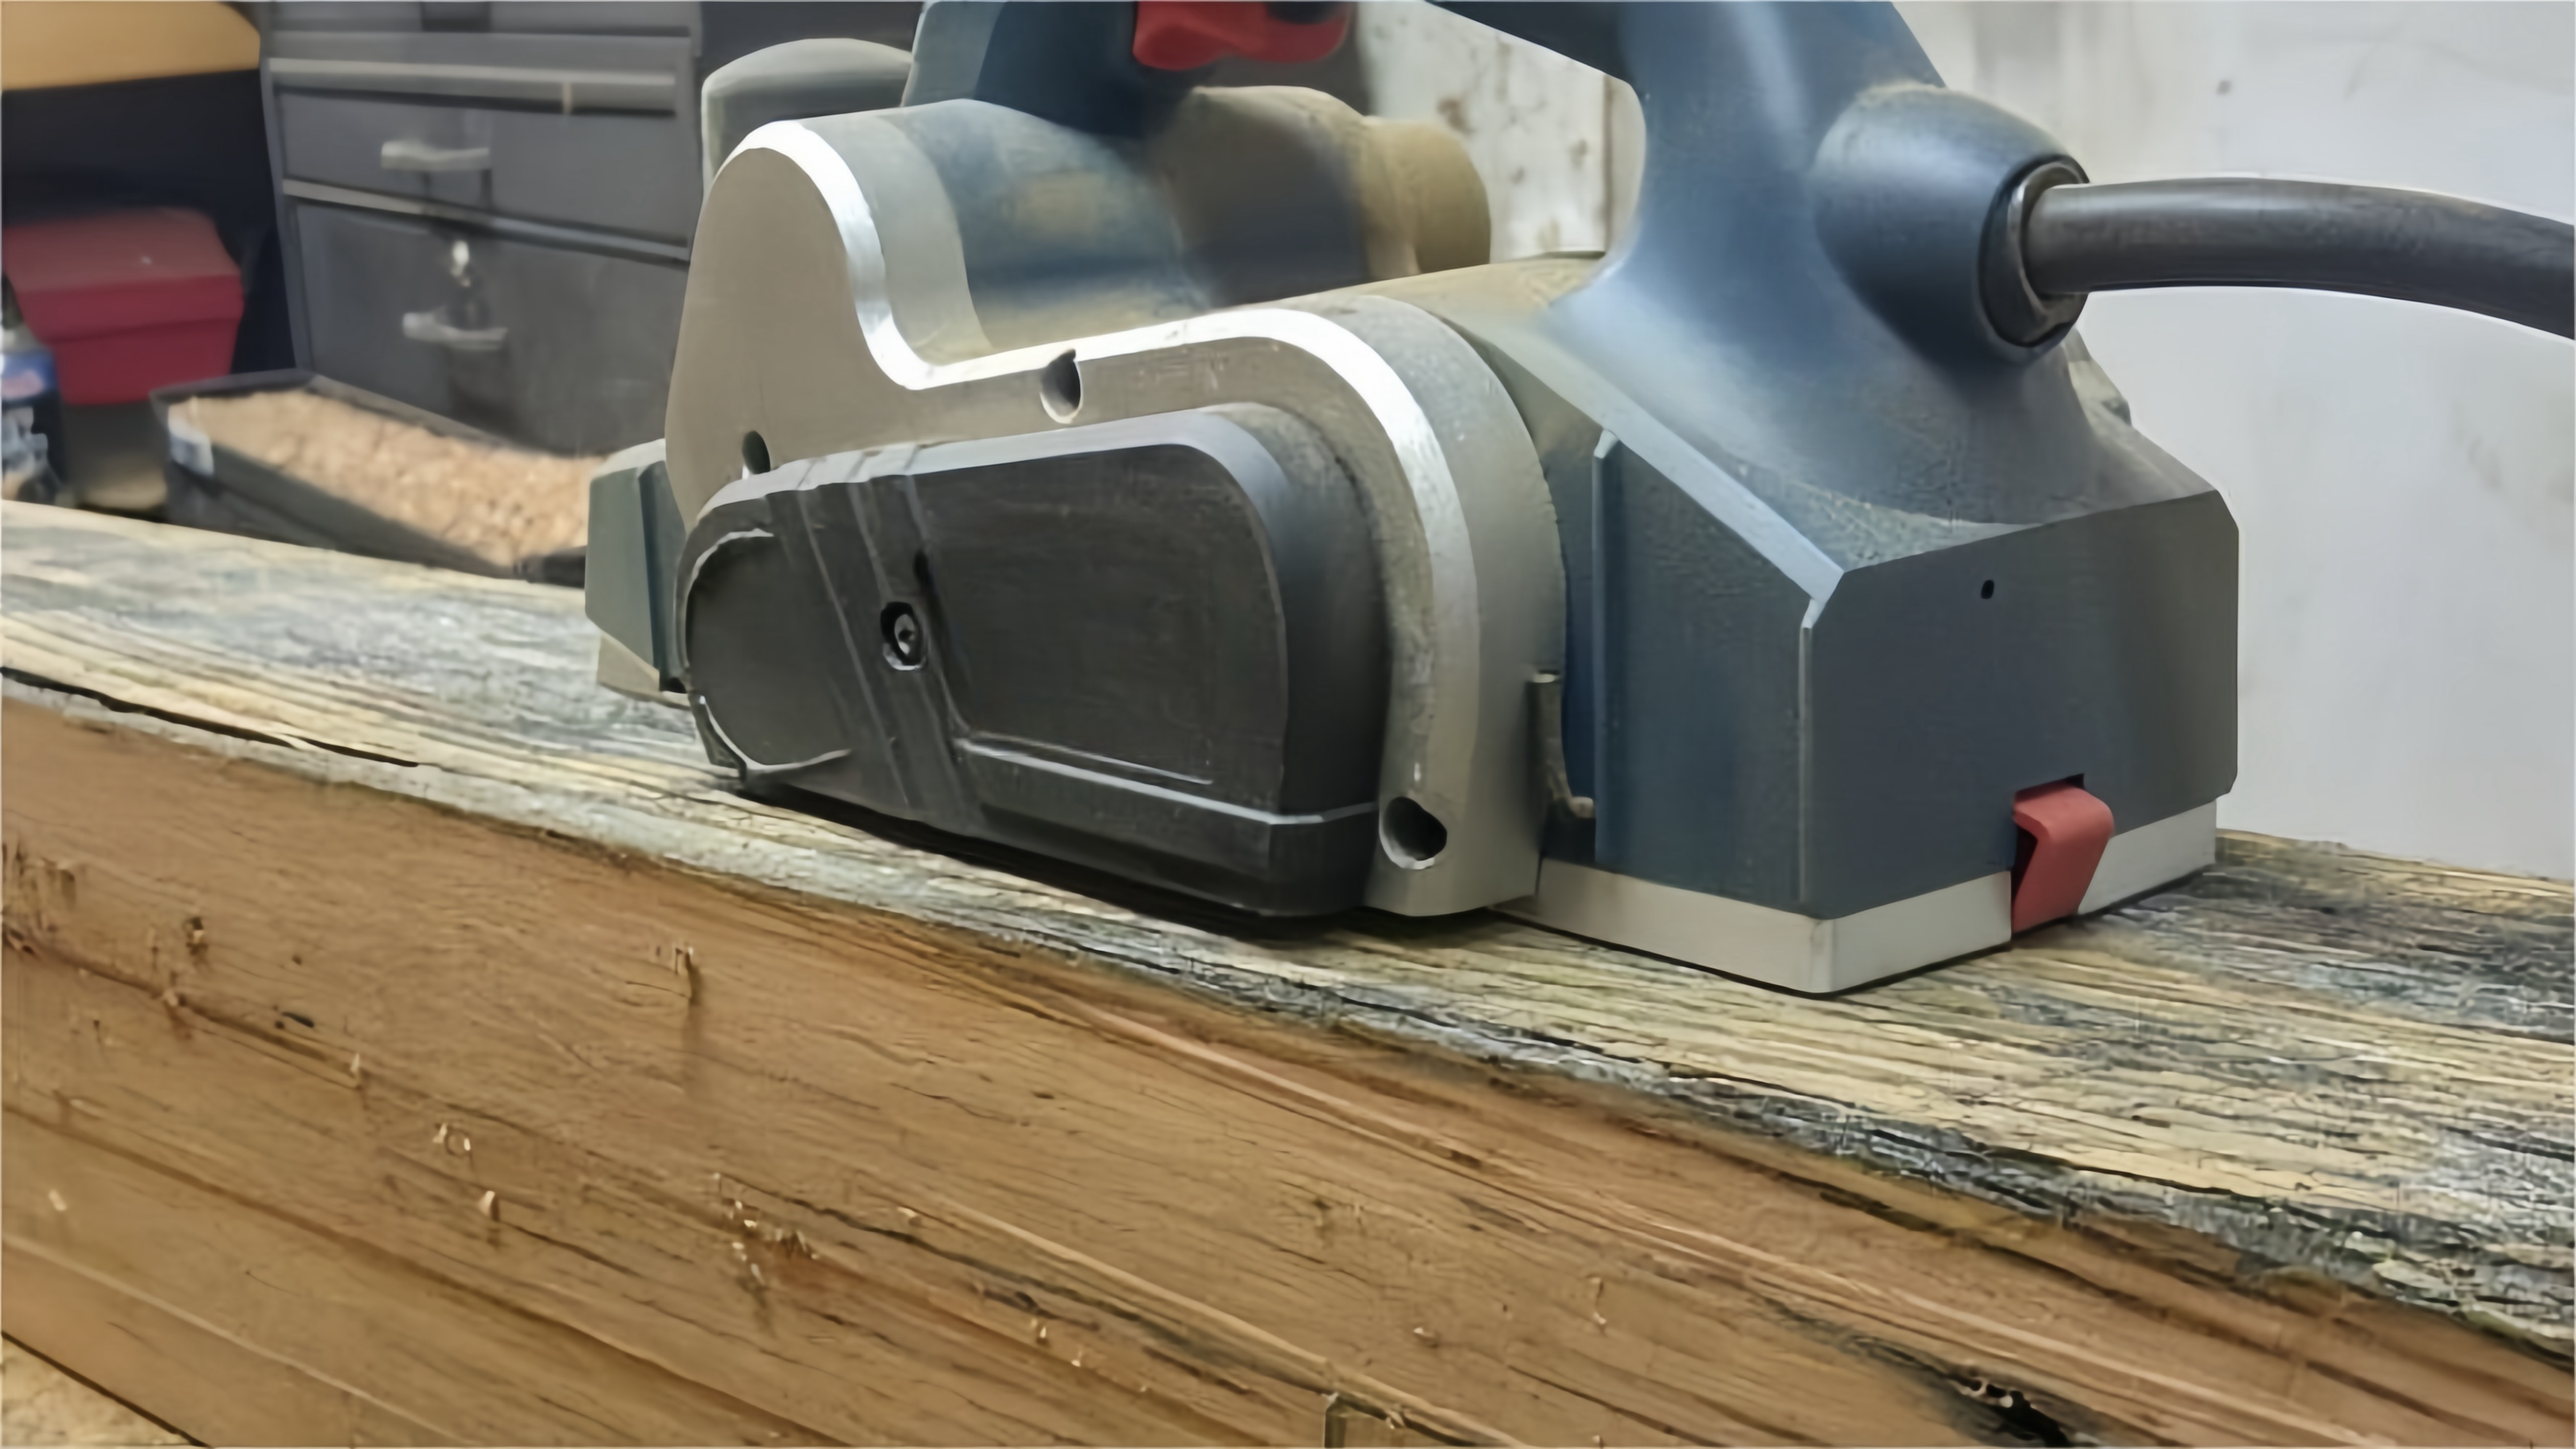
Blades
Overview:
The blades, also known as cutting knives or planer knives, are the workhorses of the planer. These sharp blades are responsible for shaving thin layers of wood off the surface, creating a smooth and even finish.
Key Features:
Material:
Blades are typically made of high-speed steel (HSS) or carbide for durability and sharpness.
Adjustability:
Some planers allow for blade height adjustments, enabling users to control the depth of the cut for different woodworking tasks.
Number of Blades:
The number of blades can vary, affecting the planer’s cutting capacity and the quality of the finish.
Bed
Overview:
The bed, also referred to as the table or base, is the flat surface where the wood is placed and guided through the planing process. It provides stability and support for the material being planed.
Key Features:
Flatness:
The bed must be perfectly flat to ensure an even and consistent plane across the wood surface.
Length:
The length of the bed determines the maximum size of the wood piece that can be processed.
Fence
Overview:
The fence is a vertical surface that supports the wood as it moves through the planer. It helps maintain a consistent angle and ensures that the wood is planed straight.
Key Features:
Adjustability:
Many planers come with an adjustable fence, allowing woodworkers to create beveled edges or chamfered surfaces.
Sturdiness:
A sturdy and stable fence is crucial for accurate and repeatable planing.
Infeed and Outfeed Rollers
Overview:
Infeed and outfeed rollers are responsible for guiding the wood into and out of the planer, ensuring a smooth and continuous feed during the planing process.
Key Features:
Grip:
These rollers should provide enough grip to feed the wood steadily through the planer without slipping.
Adjustability:
Some planers allow the adjustment of roller pressure to accommodate different wood thicknesses.
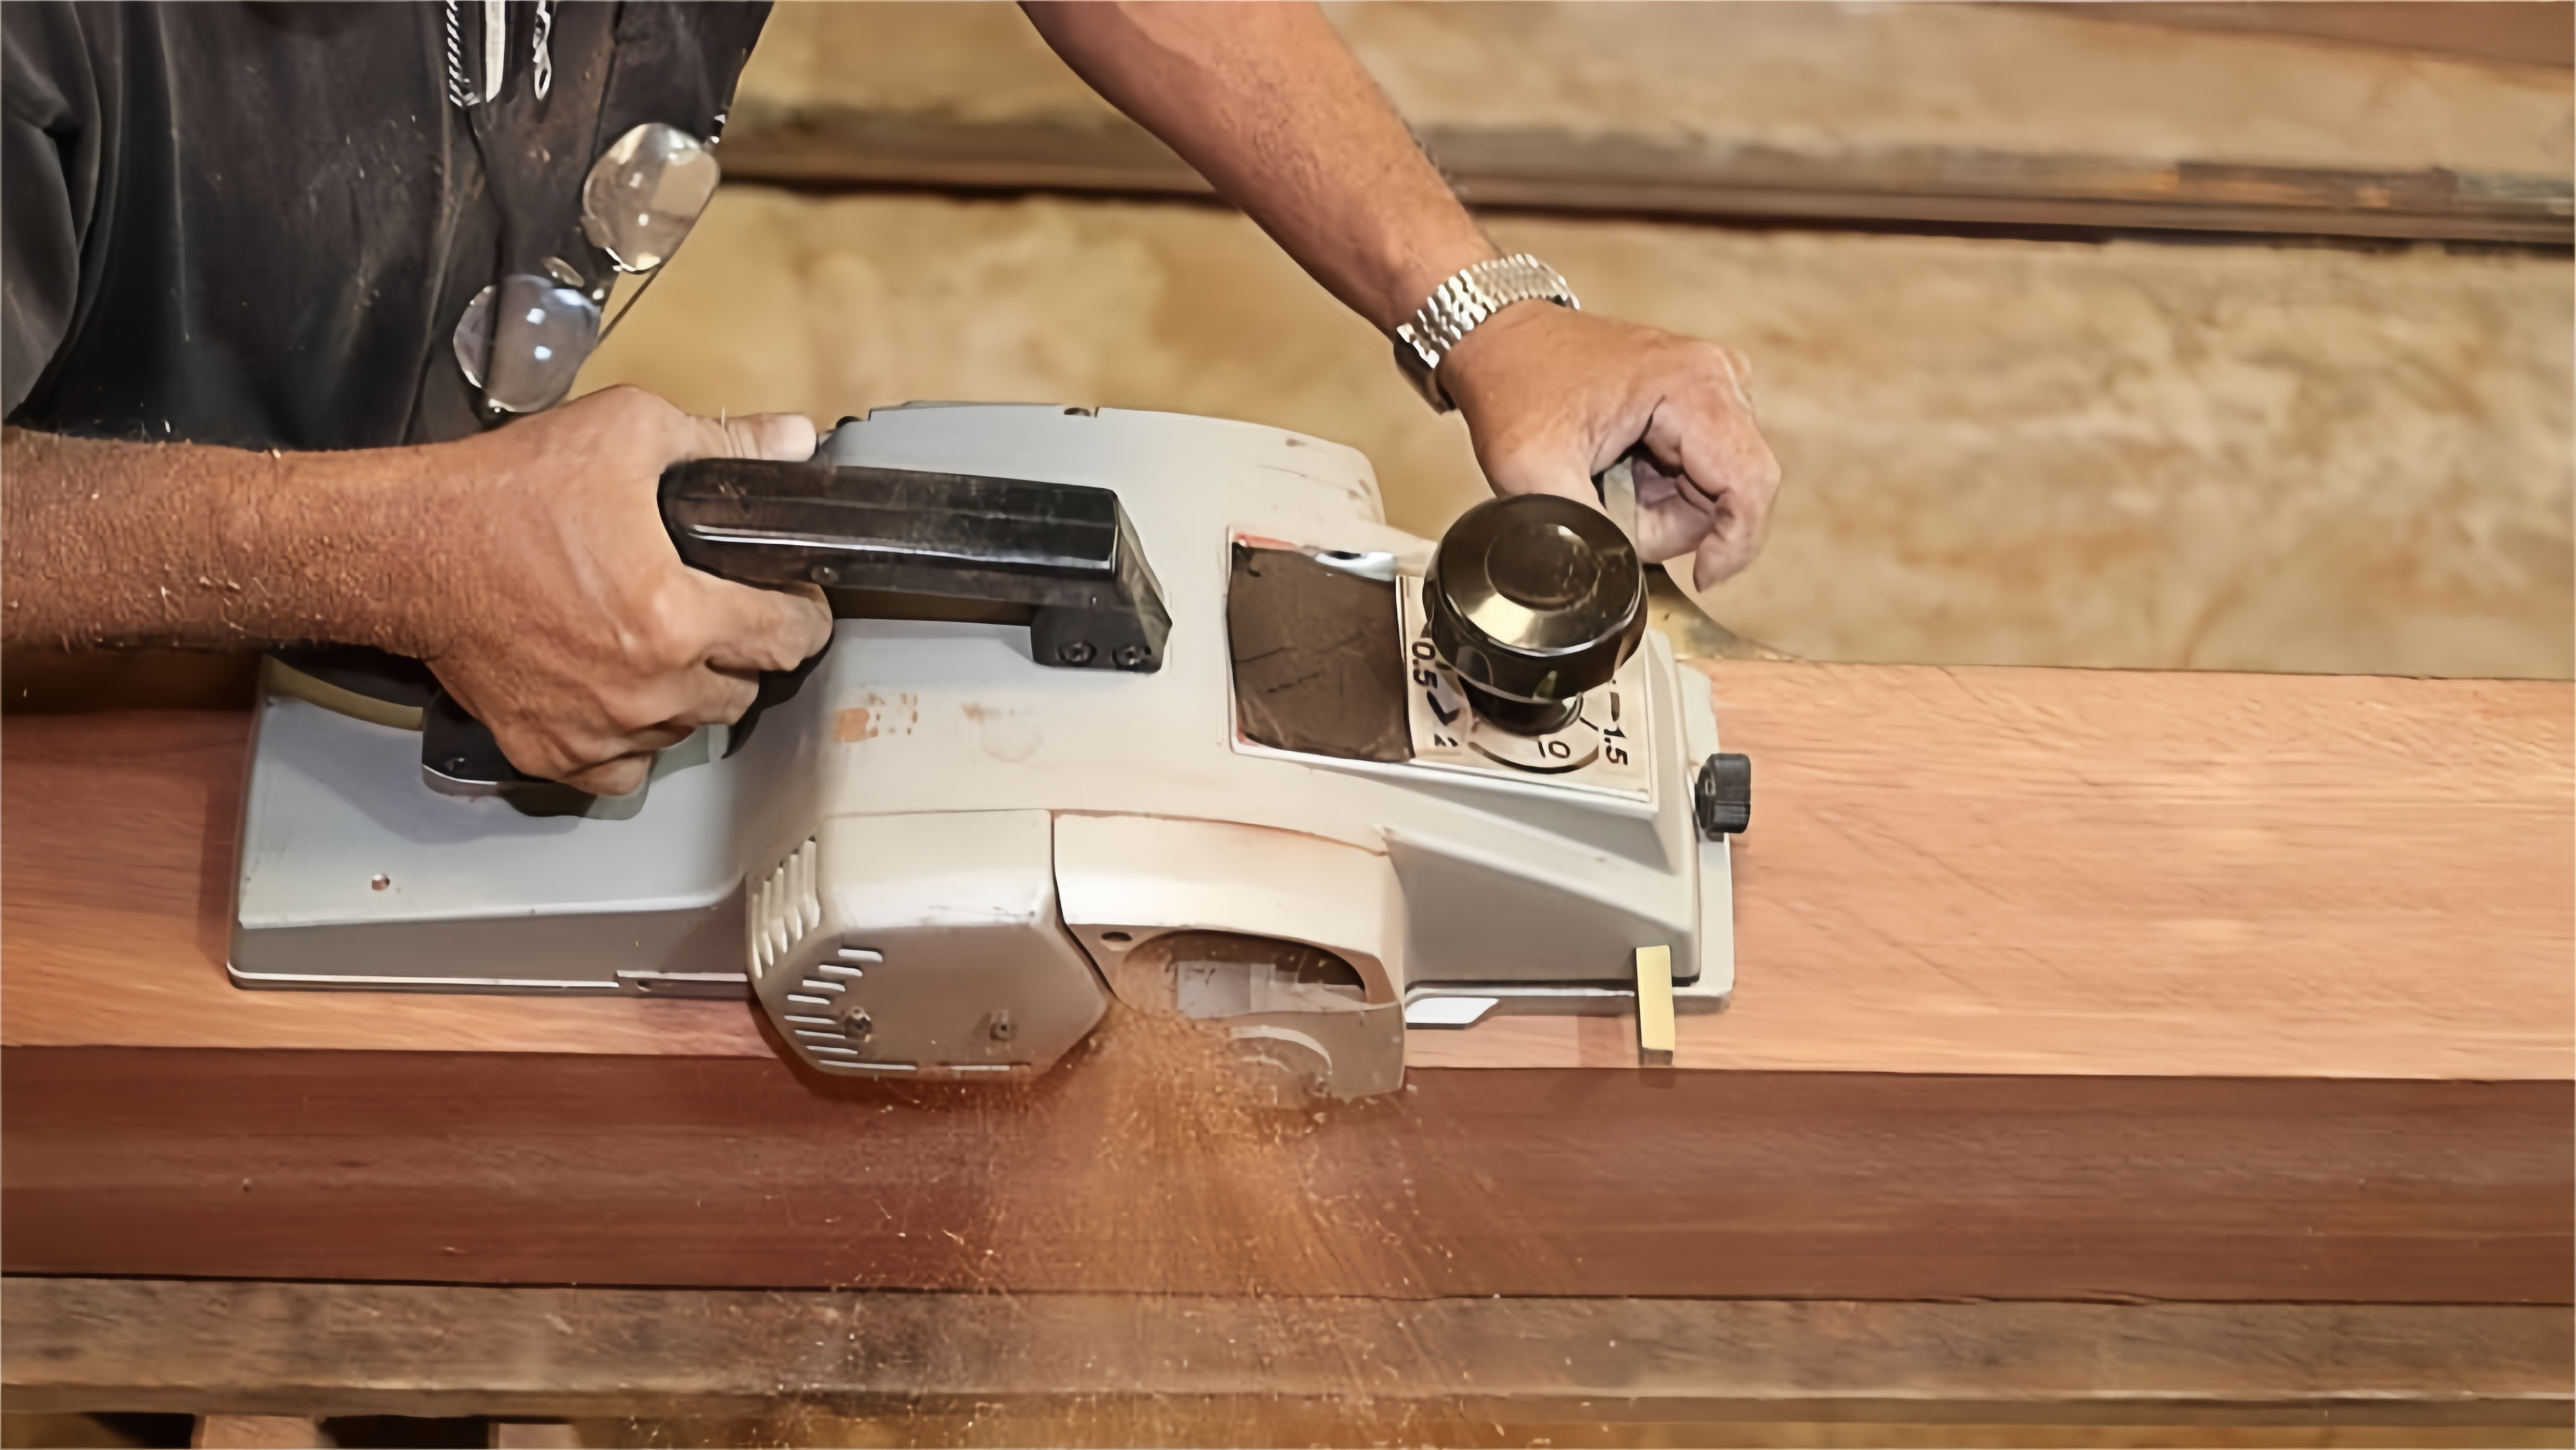
Depth Adjustment Mechanism
Overview:
The depth adjustment mechanism allows users to control how much material the blades remove with each pass. This feature is crucial for achieving the desired thickness of the planed wood.
Key Features:
Precision:
A precise depth adjustment mechanism ensures accuracy in achieving the desired thickness of the finished wood.
Ease of Use:
User-friendly controls make it simpler for woodworkers to adjust the depth according to the project requirements.
Understanding the key components of a planer is fundamental to harnessing the full potential of this woodworking tool. Whether it’s the precision of the blades, the stability of the bed, or the versatility of the fence, each component plays a vital role in shaping wood to perfection. As you embark on your woodworking journey, a thorough grasp of these components will empower you to create stunning, finely crafted pieces with your planer.
How Planers Work
Woodworking is a craft that marries creativity with precision, and at the heart of many woodworking projects is the indispensable planer. Understanding how planers work is key to unlocking their potential in transforming rough wood surfaces into smooth, polished pieces. Let’s delve into the mechanics of this essential tool.
The Setup
Overview:
Before delving into the planing process, a woodworker must set up the planer correctly. This involves securing the wood piece on the planer bed, adjusting the depth of cut, and ensuring that the planer is powered on and ready for operation.
Key Steps:
Securing the Wood:
The wood is placed on the planer bed, ensuring it is flat against the bed and against the fence for stability.
Adjusting Depth:
The depth adjustment mechanism is set to determine how much material the planer will remove with each pass.
The Cutting Action
Overview:
The magic happens when the blades of the planer come into action. These sharp, rotating blades slice off thin layers of wood from the surface, gradually transforming the rough exterior into a smooth, even finish.
Key Steps:
Blade Rotation:
As the planer is powered on, the blades start rotating at high speed.
Contact with Wood:
The rotating blades come into contact with the surface of the wood, cutting and shaving off thin layers.
The Feed Mechanism
Overview:
The infeed rollers guide the wood into the planer, while the outfeed rollers ensure a smooth and continuous feed. This mechanism ensures that the wood moves steadily through the planer, allowing for a consistent and uniform plane.
Key Steps:
Infeed Rollers:
Grip the wood and pull it into the planer as the blades begin the cutting process.
Outfeed Rollers:
Continue to support and guide the wood as it exits the planer, maintaining a steady and controlled feed.
Repeating the Process
Overview:
The woodworker repeats the process multiple times, adjusting the depth setting as needed, until the desired thickness and smoothness are achieved.
Key Steps:
Multiple Passes:
Depending on the project and the initial state of the wood, multiple passes may be required to achieve the desired result.
Adjustments:
The woodworker may make adjustments to the depth setting based on the progress of each pass.
Finishing Touches
Overview:
Once the desired thickness is achieved, the woodworker can proceed to any additional finishing touches, such as sanding or adding specific details to the now-smooth surface.
Key Steps:
Sanding:
While the planer creates a smooth surface, some woodworkers prefer to finish with sanding for an even finer touch.
Detailing:
Adding any desired details or designs can be done once the wood is at the desired thickness and smoothness.
Understanding how planers work demystifies this crucial woodworking tool. From the initial setup to the cutting action and the feed mechanism, each step contributes to the planer’s ability to transform rough wood into a canvas ready for a woodworker’s creative touch. Mastery of this process opens up a world of possibilities for crafting finely finished and precisely dimensioned wood pieces.
Choosing the Right Planer Factors to consider
Choosing the right planer involves considering several factors to ensure that it meets your specific needs and preferences. Here are some key factors to consider when selecting a planer:
Type of Planer:
Thickness Planer:
Ideal for reducing the thickness of rough lumber and creating uniform thickness throughout a board.
Jointer-Planer Combo:
Combines the functions of a jointer and a thickness planer, offering space and cost savings.
Size and Capacity:
Consider the width and maximum thickness capacity of the planer. Choose a size that accommodates the average size of the wood you’ll be working with.
Motor Power:
A more powerful motor allows the planer to handle larger and harder wood. Check the motor’s horsepower (HP) rating to ensure it meets your requirements.
Feed Rate:
The feed rate determines how quickly the wood passes through the planer. Look for a planer with adjustable feed rates to match the requirements of different wood types and finishes.
Cutterhead Type:
There are helical cutterheads and straight knife cutterheads. Helical cutterheads produce a smoother finish and are quieter but may be more expensive. Straight knife cutterheads are more common and can be less expensive to maintain.
Dust Collection:
A good dust collection system is important for keeping your workspace clean. Check if the planer has a built-in dust port or if you’ll need to connect an external dust collector.
Material Support:
Consider the infeed and outfeed support provided by the planer. Adequate support helps prevent snipe and ensures the material is properly guided through the machine.
Adjustability and Precision:
Look for a planer that allows easy adjustments for depth of cut and other settings. Precision is crucial for achieving the desired thickness and smoothness.
Durability and Build Quality:
Consider the materials used in the construction of the planer. Cast iron and steel construction often indicates a more durable and stable machine.
Brand and Reviews:
Research and read reviews about different planer brands and models. Consider the reputation of the manufacturer for producing reliable and high-quality tools.
Budget:
Determine your budget and look for a planer that offers the best combination of features and quality within that budget.
Warranty and Customer Support:
Check the warranty offered by the manufacturer and the availability of customer support. A good warranty provides peace of mind and indicates the manufacturer’s confidence in their product.
By carefully considering these factors, you can choose a planer that aligns with your woodworking needs and provides efficient and reliable performance.
Using a planer requires careful attention to safety to prevent accidents and ensure a smooth woodworking experience. Here are some safety tips for using a planer:
Tips for Using a Planer Safety measures
Read the Manual:
Familiarize yourself with the manufacturer’s instructions and safety guidelines provided in the user manual. Pay attention to specific operating procedures and maintenance requirements.
Wear Personal Protective Equipment (PPE):
Always wear appropriate PPE, including safety glasses or goggles to protect your eyes from flying debris, hearing protection, and dust masks to guard against wood dust inhalation.
Inspect the Machine:
Before each use, inspect the planer for any damage or loose parts. Ensure that all safety guards and mechanisms are in place and functioning correctly.
Secure Workpieces:
Securely fasten your workpieces to the planer bed using appropriate clamps or hold-downs. This helps prevent the wood from lifting or moving during the planing process.
Check the Depth of Cut:
Set the depth of cut according to the specifications for your project. Avoid taking too deep of a cut, as this can strain the motor and lead to tear-out or other issues.
Feed Direction:
Always feed the material against the rotation of the cutterhead. This ensures a smoother cut and reduces the risk of kickback.
Avoid Snipe:
Snipe is an uneven cut at the beginning or end of a board. To minimize snipe, provide adequate infeed and outfeed support for your workpieces, and lift the board at the end of the pass.
Keep Hands Clear:
Keep your hands a safe distance from the cutterhead and other moving parts. Use push sticks or push pads to guide the material through the planer, especially when working with smaller pieces.
Disconnect Power:
Before making any adjustments, changing blades, or performing maintenance, disconnect the power source to the planer. This prevents accidental start-ups that could cause injury.
Use a Push Block:
When planing narrow stock, use a push block to maintain control and keep your hands away from the cutterhead. This is especially important for pieces less than 6 inches wide.
Work in a Well-Ventilated Area:
Wood dust can be harmful if inhaled. Work in a well-ventilated area, and consider using a dust collector or wearing a dust mask to reduce the risk of respiratory issues.
Maintain Sharp Blades:
Keep the planer blades sharp to ensure clean and efficient cuts. Dull blades can cause tear-out and increase the likelihood of kickback.
Stable Workspace:
Set up your planer on a stable and level surface. A wobbly or uneven workspace can lead to accidents and inaccurate cuts.
Emergency Stop:
Familiarize yourself with the emergency stop mechanism on your planer. Be prepared to use it in case of any unexpected issues or emergencies.
By following these safety tips, you can enhance your safety and reduce the risk of accidents while using a planer in your woodworking projects. Always prioritize caution and adherence to safety guidelines for a successful and injury-free woodworking experience.
Maintenance of Planers
Maintaining a planer is not just about preserving a tool; it’s about safeguarding the precision and efficiency that define its craftsmanship. Here’s a comprehensive guide to the essential maintenance practices for your planer:
Regular Cleaning:
Importance:
Sawdust and debris can accumulate over time, affecting the planer’s performance.
Procedure:
Turn off and unplug the planer.
Use a brush or compressed air to remove sawdust from the cutterhead, rollers, and feed rollers.
Wipe down the exterior with a clean, dry cloth.
Blade Inspection and Replacement:
Importance:
Dull or damaged blades can compromise the quality of planed surfaces.
Procedure:
Ensure the planer is unplugged.
Remove the blades and inspect them for wear, nicks, or dullness.
Sharpen or replace blades as needed, following manufacturer guidelines.
Alignment Checks:
Importance:
Proper alignment is crucial for achieving consistent thickness and avoiding snipe.
Procedure:
Check the infeed and outfeed tables for parallel alignment.
Ensure the cutterhead is parallel to the tables.
Adjust or realign components as necessary.
Infeed and Outfeed Roller Maintenance:
Importance:
Rollers play a key role in feeding and supporting the wood during planing.
Procedure:
Inspect rollers for wear and tear.
Clean rollers with a damp cloth to remove residue.
Lubricate rollers with a silicone-based lubricant if recommended by the manufacturer.
Dust Collection System:
Importance:
Effective dust collection contributes to a cleaner working environment and prevents clogs.
Procedure:
Check and empty the dust collection bag or container regularly.
Inspect hoses and connections for any blockages.
Clean or replace filters as needed.
Belt Tension and Condition:
Importance:
Proper belt tension ensures smooth operation and prevents slippage.
Procedure:
Check the tension of the drive belt.
Inspect the belt for signs of wear, cracks, or fraying.
Adjust or replace the belt if necessary.
Safety Features Inspection:
Importance:
Ensuring safety features are functional is vital for the well-being of the operator.
Procedure:
Test emergency stop buttons and switches.
Check the functionality of safety guards and shields.
Replace any damaged or malfunctioning safety components.
Regular adherence to these maintenance practices not only extends the lifespan of your planer but also ensures that it continues to deliver precise and high-quality results. By incorporating these steps into your routine, you invest in the longevity and reliability of a tool that stands at the heart of woodworking precision.
Planer vs. Jointer: Understanding the Differences
When it comes to woodworking, two tools that are often confused or used interchangeably are the planer and the jointer. While they may seem similar in function, they serve distinct purposes in the woodworking process. Understanding the differences between these two tools is essential for achieving optimal results in your woodworking projects. Let’s delve into the contrasting features of a planer and a jointer.
Purpose and Function:
The primary function of a jointer is to flatten one face and square one edge of a board. It is used to create a reference surface that can be used as a starting point for subsequent woodworking operations. A jointer achieves this by using rotating blades to remove high spots and create a flat, even surface.
On the other hand, a planer is designed to reduce the thickness of a board and create a smooth, uniform surface. It is used to refine the thickness of a board, making it consistent and parallel throughout its length.
Surface Orientation:
A jointer works on the face and the edge of a board, ensuring that they are flat and square to each other. It is essential for preparing boards before joining them together, as it ensures tight, seamless joints.
In contrast, a planer works on the top surface of a board. It is used to create a consistent thickness across the entire length of the board. Planers are particularly useful for dimensioning lumber or reducing the thickness of rough-sawn boards.
Board Size and Capacity:
Jointers are typically used for working with narrower boards. They have a limited width capacity, usually ranging from 6 to 12 inches, depending on the size of the jointer. This makes them suitable for smaller woodworking projects.
Planers, on the other hand, have a wider capacity and can handle larger boards. They are designed to accommodate boards of various widths, making them ideal for larger-scale projects.
Cutting Action:
Jointers use rotating blades mounted on an infeed table to cut into the wood. The blades remove material from the high spots, resulting in a flat surface. The depth of cut can be adjusted to achieve the desired level of flattening.
Planers, on the other hand, use rotating blades or cutters mounted on a cylindrical drum. As the board is fed through the planer, the blades shave off thin layers of wood, resulting in a smooth and uniform surface. The depth of cut can also be adjusted to control the thickness of the board.
While both the planer and jointer play important roles in the woodworking process, they have distinct functions and purposes. A jointer is used to flatten and square the face and edge of a board, while a planer is used to reduce the thickness and create a smooth surface. By understanding the differences between these two tools, woodworkers can effectively utilize them in their projects, ensuring precise and professional results.
Troubleshooting Common Issues with Planers
Planers are versatile woodworking tools that can greatly enhance your projects. However, like any tool, they can encounter issues that may affect their performance. Understanding and troubleshooting these common problems can help you maintain your planer and ensure optimal results. Here are some common issues with planers and how to address them:
Snipe:
Snipe refers to a deeper cut or indentation at the beginning or end of a board when it passes through the planer. This issue is often caused by improper board support or an uneven feed rate. To minimize snipe, try the following:
- Use infeed and outfeed support tables to provide consistent support for the board throughout the planing process.
- Adjust the feed rate, slowing down slightly when entering and exiting the planer.
- Consider using sacrificial boards at the beginning and end of the workpiece to minimize snipe.
Tear-out:
Tear-out occurs when the planer blades lift or tear the wood fibers, resulting in a rough or uneven surface. This problem is more common with figured or interlocked grain woods. To reduce tear-out:
- Use a sharp set of planer blades. Dull blades can cause more tear-out.
- Adjust the depth of cut to remove less material with each pass.
- Consider using a slow feed rate to minimize the chances of tear-out.
- If tear-out still occurs, try planing in the opposite direction of the grain to reduce its impact.
Inconsistent Thickness:
If your planer is not producing consistent thickness across the entire length of the board, it can affect the quality of your project. Here’s how to troubleshoot this issue:
- Check the planer’s blade alignment. Misaligned blades can result in uneven cuts. Adjust or replace the blades as necessary.
- Ensure that the board is properly seated and fed evenly through the planer. Uneven pressure on the board can cause variations in thickness.
- If the issue persists, check the feed rollers for wear or damage. Worn-out feed rollers may not grip the board evenly, leading to inconsistent thickness.
Clogging and Chip Build-up:
Planing generates a considerable amount of wood chips and debris, which can clog the planer and affect its performance. To prevent clogging:
- Regularly clean the dust collection system or chip chute to ensure proper airflow.
- Use a dust collector or shop vacuum to effectively capture the chips and debris.
- Consider using a dust hood or a shop-made chip deflector to redirect the chips away from the planer’s internal mechanisms.
Motor Overload or Stalling:
If your planer’s motor is struggling or stalling during operation, it may be overloaded. This can occur if you’re taking too deep of a cut or feeding the board too quickly. To avoid motor overload:
- Reduce the depth of cut and take lighter passes.
- Slow down the feed rate to allow the motor to handle the load more effectively.
- Ensure that the planer’s motor is adequately powered for the task at hand. Consult the manufacturer’s recommendations for motor size and capacity.
Remember, safety should always be a priority when troubleshooting any power tool. Always follow the manufacturer’s instructions and guidelines for maintenance and operation. If you’re unsure about any repairs or adjustments, consult a professional or contact the manufacturer for assistance.
Conclusion
A planer is a valuable tool in woodworking that allows you to achieve consistent thickness and smooth surfaces on your boards. By understanding its purpose and function, as well as troubleshooting common issues, you can maximize the performance of your planer and achieve professional results in your woodworking projects. It transcends its status as a mere tool; it becomes a trusted companion on your woodworking journey. This versatile device, with its rich history, diverse types, and essential maintenance considerations, plays a pivotal role in transforming your woodworking projects into true works of art.
Post time: Nov-27-2023